OctoPerf's new UI - Design changes
This article is the second in a series of overviews of our new UI. You can find the first one here.
This time we will dive into the changes we've made in the design phase. We've addressed many pain points from the old UI that we want to detail here:
- Virtual user creation,
- Multiple selection of requests,
- Contextual actions menu,
- Easier debug,
- Better processors configuration,
- Better auto-completion,
- Easier search and replace,
- Various usability fixes.
This will make the design in OctoPerf even faster, so that you can focus more time on your tests and analyzing them.
Create virtual user
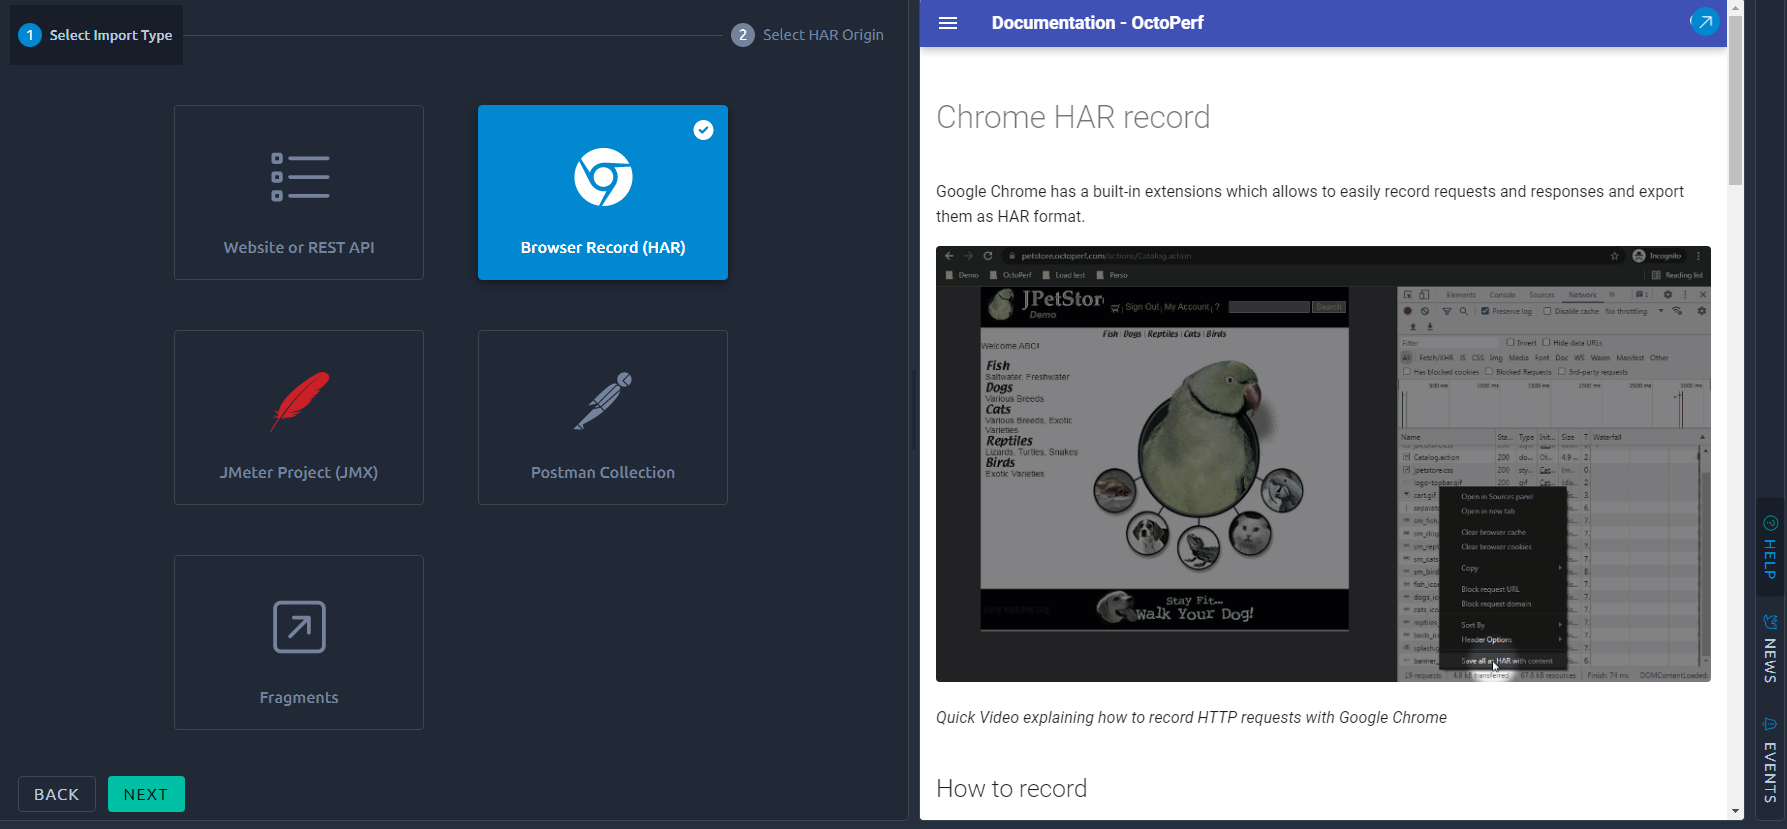
The first item on the list is obviously the new virtual user creation process. A lot of people were confused by the older UI and used the menus to get back to the project level when what they really wanted was to get back to the last step. Of course the fact that you are now required to click on Back / Next to move to the another step of the process requires one more interaction but it's also a lot easier to understand what's going on since it results from your actions. We think it's the right way to go since the only drawback is adding a couple of clicks on a process that is only used a few times per project.
To make things easier for beginners, the contextual documentation will display as soon as you select any option. It's also a better use of horizontal space that would otherwise be lost:

And lastly, we used this opportunity to make the JMeter import a one-step process where you can clearly differentiate the JMX and resource files:

Design page
The design page is the one we changed the most. While all the features of the old UI are still available (along with some new ones) the layout has changed so much that it might be hard to find your way around it at first glance.
Virtual user tree

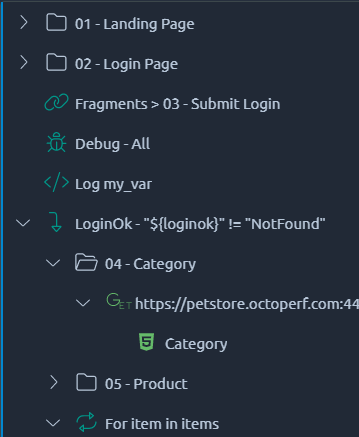
It behaves exactly like a tree in your favorite IDE or file browser. This way you can reorganize your Virtual User structure very quickly.
The right click menu offers all the contextual action you already had in OctoPerf plus a few others that we will discuss in the sections below.
For a complete overview of possibilities, you can check the virtual user tree documentation.
Actions

In order to add any action, simply drag and drop it from this panel into the tree above.
Alternatively you can use the right click menu directly inside the tree to see only the actions you can add on a particular item.
Main panel
When you edit an action, its current configuration will show up in the main panel on the right. It behaves like a web browser where you can open a number of actions at the same time and switch between them using the tab headers, or simply close tabs with the right click menu:

Configuration of actions
Configuration of HTTP actions can be achieved using the left handed sub-menu in order to switch between header, GET, POST parameters and other settings. This menu can be collapsed to give more space for the actual configuration:

Another difference is the Post processors configuration menu that can now be accessed through a Configure button:

In the old UI the selector was displayed by default. We changed this to avoid confusion that happened when you clicked by mistake. It would reset the Post processor which could be frustrating. Now changing the expression is an explicit action you can take and you can also cancel it before the new configuration is applied.
Utilities
Auto-complete

Its purpose is first to list all your existing variables so that you can copy/paste them where required.
But also all the JMeter functions that you can use. Each one of these functions comes with detailed documentation and examples.
If you prefer to use the contextual autocomplete menu, you can make it appear anywhere by typing ${
Debug panel
Action that can have a result, like HTTP actions, post processors and others, used to have a dedicated tab where you could see its results. We have now centralized all of this in the debug panel. Here you will see the comparison of your HTTP requests, post processor results and even the new response timings comparison:

Validation
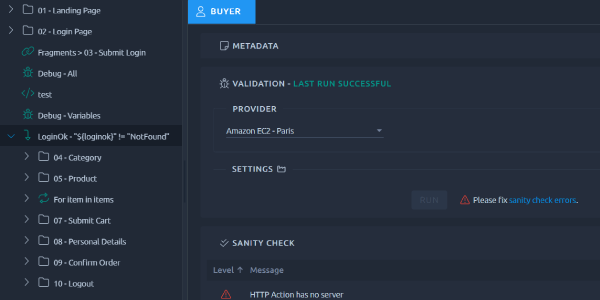
The validation menu has been moved to the main panel where is it always available through the virtual user tab. This way it never gets in the way of what you're doing like in the old UI:

Once launched you can find its results in the debug panel or use the logs panel on the bottom right to check the JMeter logs.
Search and replace
Another area where we invested a lot of time is the search and replace panel. Instead of a pop-up window, it's now a panel of its own, where we can display the search results:

It is a lot more flexible since you can handpick the results on which you want to apply a replace function. And they're also highlighted in the virtual user tree.
Usability
Servers and variables
The other menus also changed a lot. Servers and variables now use a list layout that allows multiple selection and contextual actions. That can be especially helpful when you want to remove a lot of third party servers at once.
Files and Export
The files menu now allows to download/remove a single file or remove all files at once. This should vastly improve its usability.
We've also moved the option to export a virtual user to the virtual user page where you can quickly download several of them:

Conclusion
We've put a lot of work into the new design UI, we hope you will appreciate it. But of course if you feel like it's not quite what you're looking for, make sure to share your impressions with us. We will continue to improve it as the beta gets closer to the release date.
In our next post we will discuss the new runtime features, so stay tuned!
