
Postman Collection to JMeter
In this blog post we are going to look at how we take a postman request or collection and translate these into JMeter tests. When web services are being build it is common for Postman to be used to test the endpoints. This is done by:
- Development teams
- Wider Quality Assurance community
- Business users
- Product owners
the list goes on.
What naturally happens during programmes where web services are part of the design is that postman requests and collections are built and grow to support all manner of requirements. Using these collections to quickly build your performance tests can save you a significant amount of time and effort when it comes to understanding the web service you are testing along with the payload that the web service expects.
You will find that in some cases you can inherit a fully functioning set of web service requests that support all your requirements from a performance testing perspective.
Postman
Before we move on let’s just take some time to familiarise ourselves with Postman at a high level and look at some of the limitations that it has when it comes to performance testing. From the Postman web site:
Postman is an API platform for building and using APIs. Postman simplifies each step of the API lifecycle and streamlines collaboration so you can create better APIs—faster.
Easily store, catalog, and collaborate around all your API artifacts on one central platform. Postman can store and manage API specifications, documentation, workflow recipes, test cases and results, metrics, and everything else related to APIs.
The Postman platform includes a comprehensive set of tools that help accelerate the API lifecycle—from design, testing, documentation, and mocking to the sharing and discoverability of your APIs.
Postman's full-lifecycle approach to governance lets adopters shift left their development practices, resulting in better-quality APIs, and fostering collaboration between developer teams and API design teams.
Postman workspaces help you organize your API work and collaborate across your organization or across the world. There are four different kinds of Postman workspaces for your different needs: personal, team, partner, and public workspaces.
Postman integrates with the most important tools in your software development pipeline to enable API-first practices. The Postman platform is also extensible through the Postman API and through open source technologies.
Now we are not going to delve into the inner workings of Postman, and we are not planning on looking at how Postman can support your API testing. What we are going to look at is how we can use assets created in Postman to support performance testing because whilst Postman is a functionally rich product it does not support performance testing.
Now you may be thinking that the above statement is incorrect, especially if you have read Postman's page on performance testing. And while postman does indeed provide the ability to simulate multiple threads it does not provide you with the ability to build performance testing scenarios that you will need to determine if your application under test performs under representative load.
Equally there is no way of distributing load across multiple load injectors or building a framework to support performance testing as part of continuous integration or continuous deployment. You are much better off using a performance testing tools to support performance testing of your applications as while Postman is a good tool its primary focus is not that of performance testing.
We will now look at how we can take a postman test or collection and convert to JMeter tests.
Building a Postman Collection
For the purposes of this post, we will build a dummy postman collection for us to create JMeter tests from. If we look at Postman, we can see that I have 2 dummy requests.
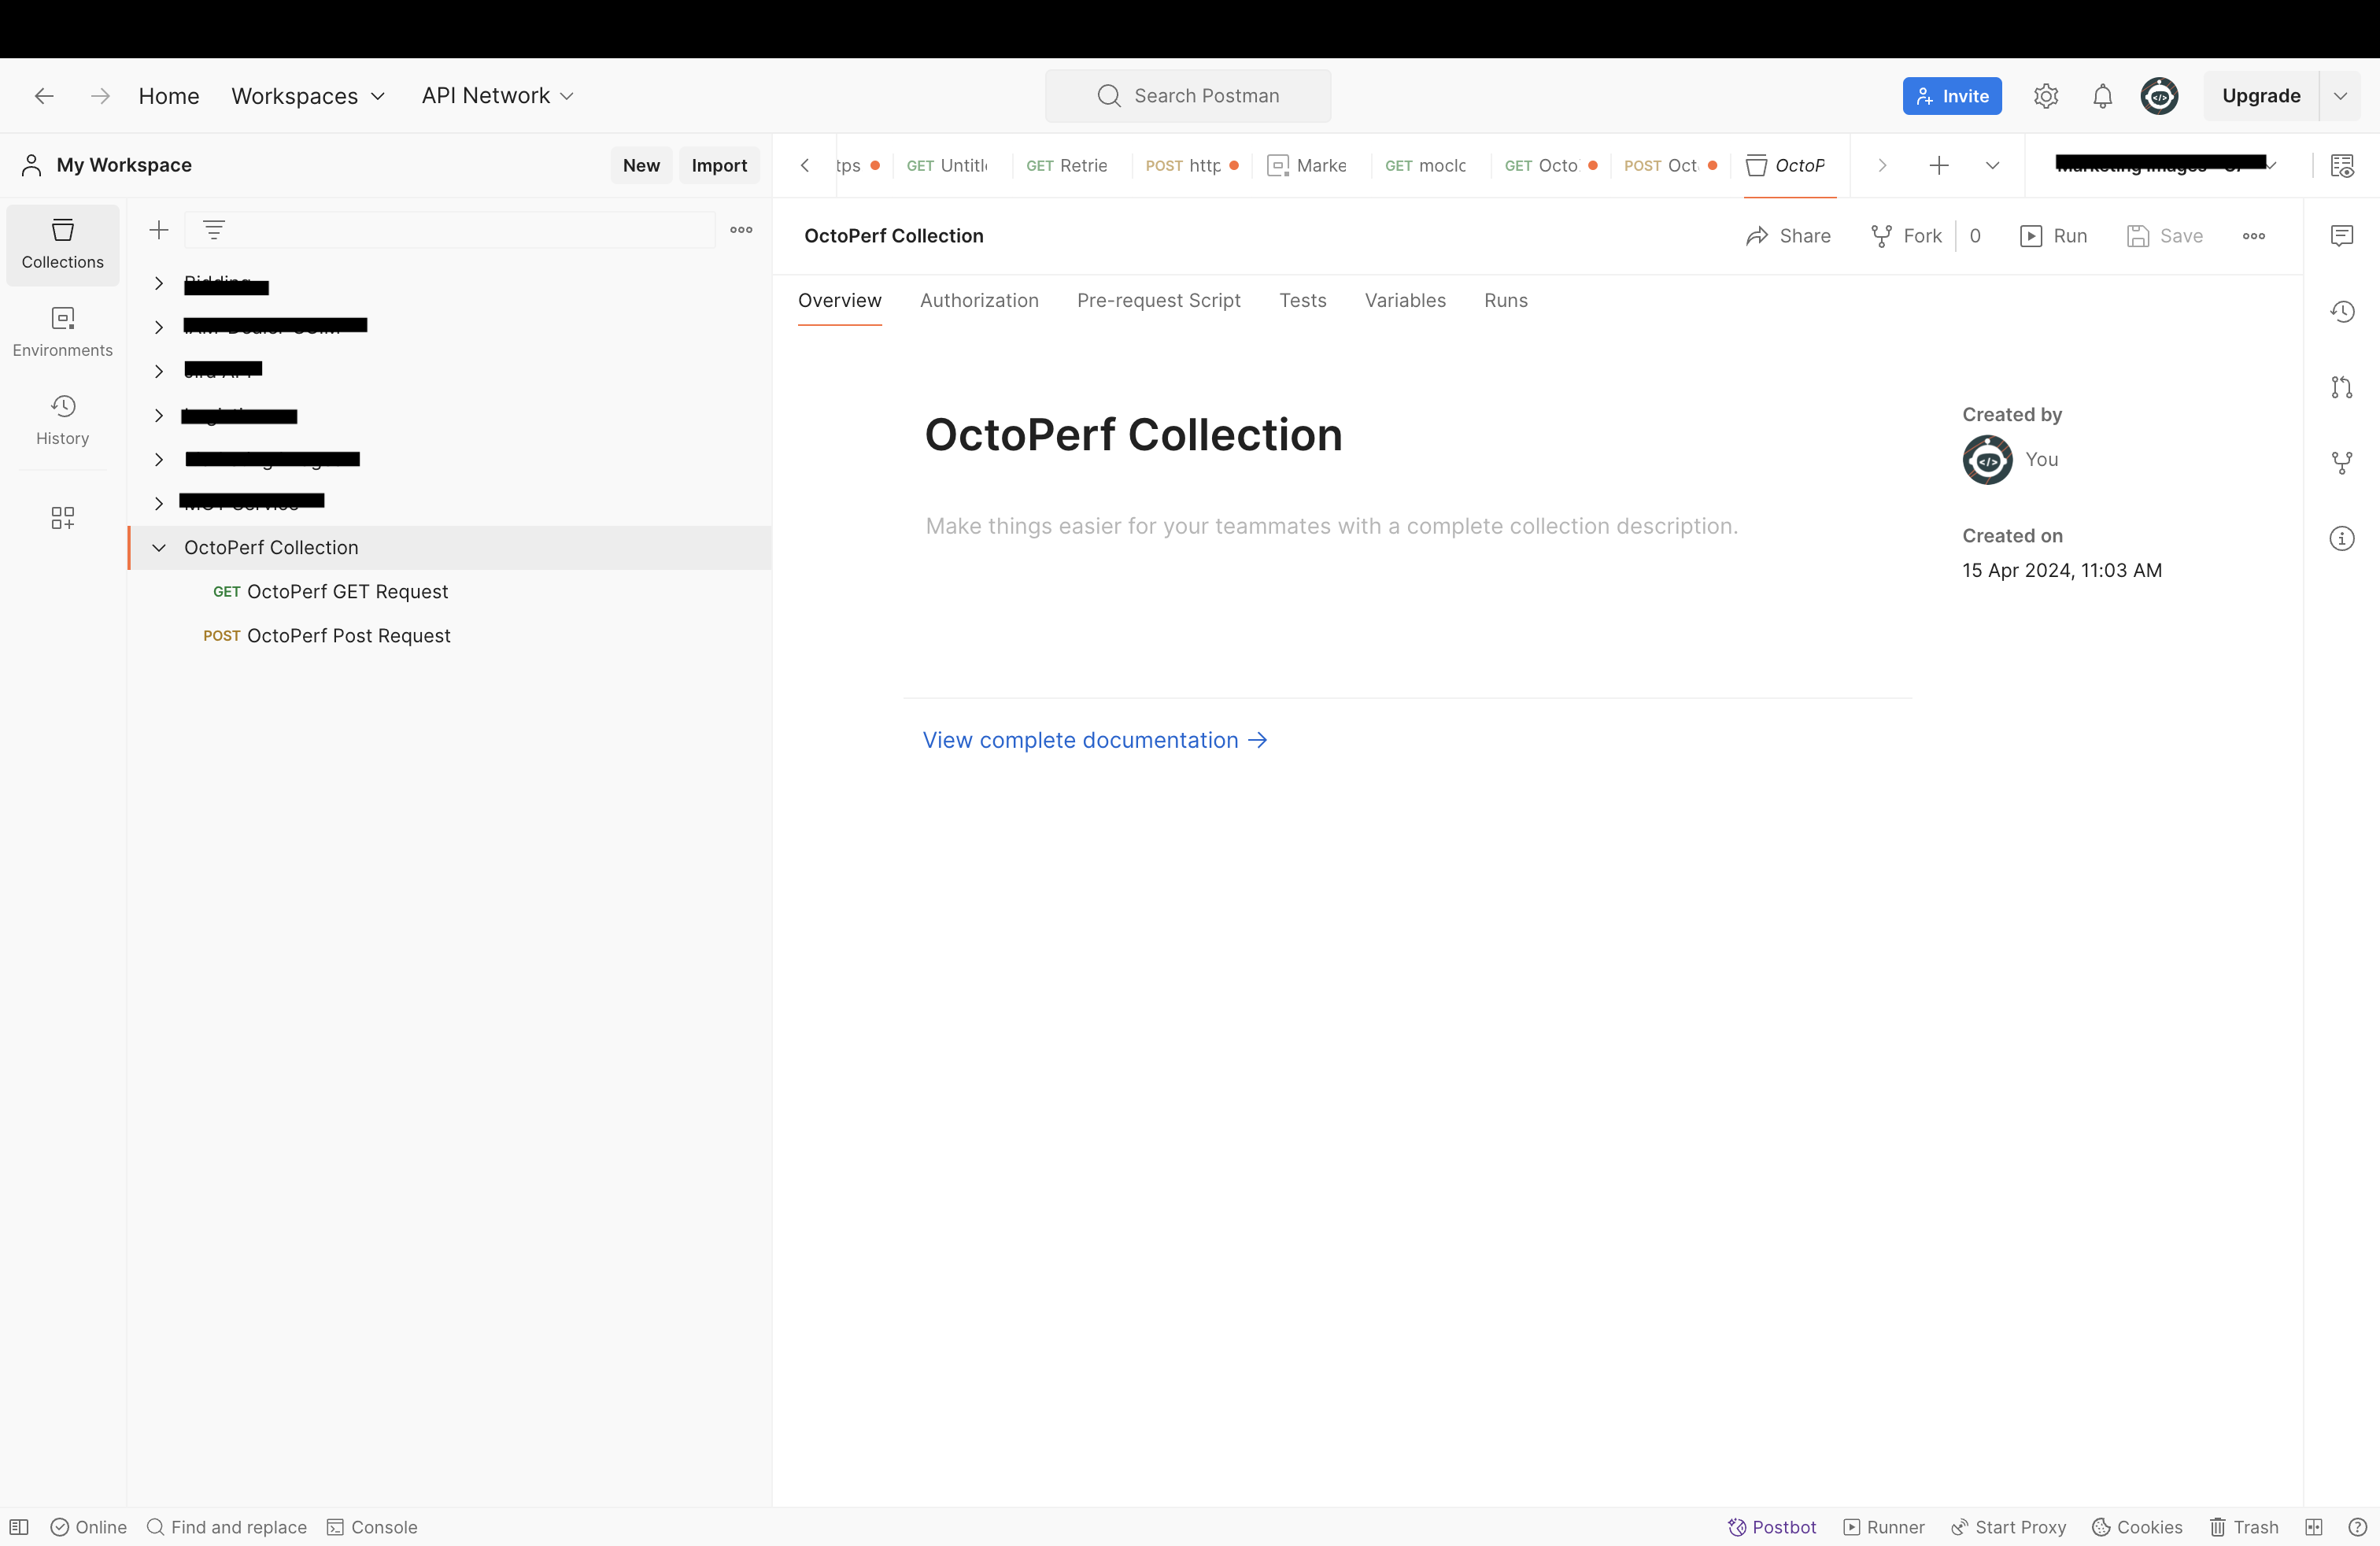
One GET and one POST, these are very simple requests which we will look at in a bit more detail next but will be enough to demonstrate how we can build JMeter tests from Postman.
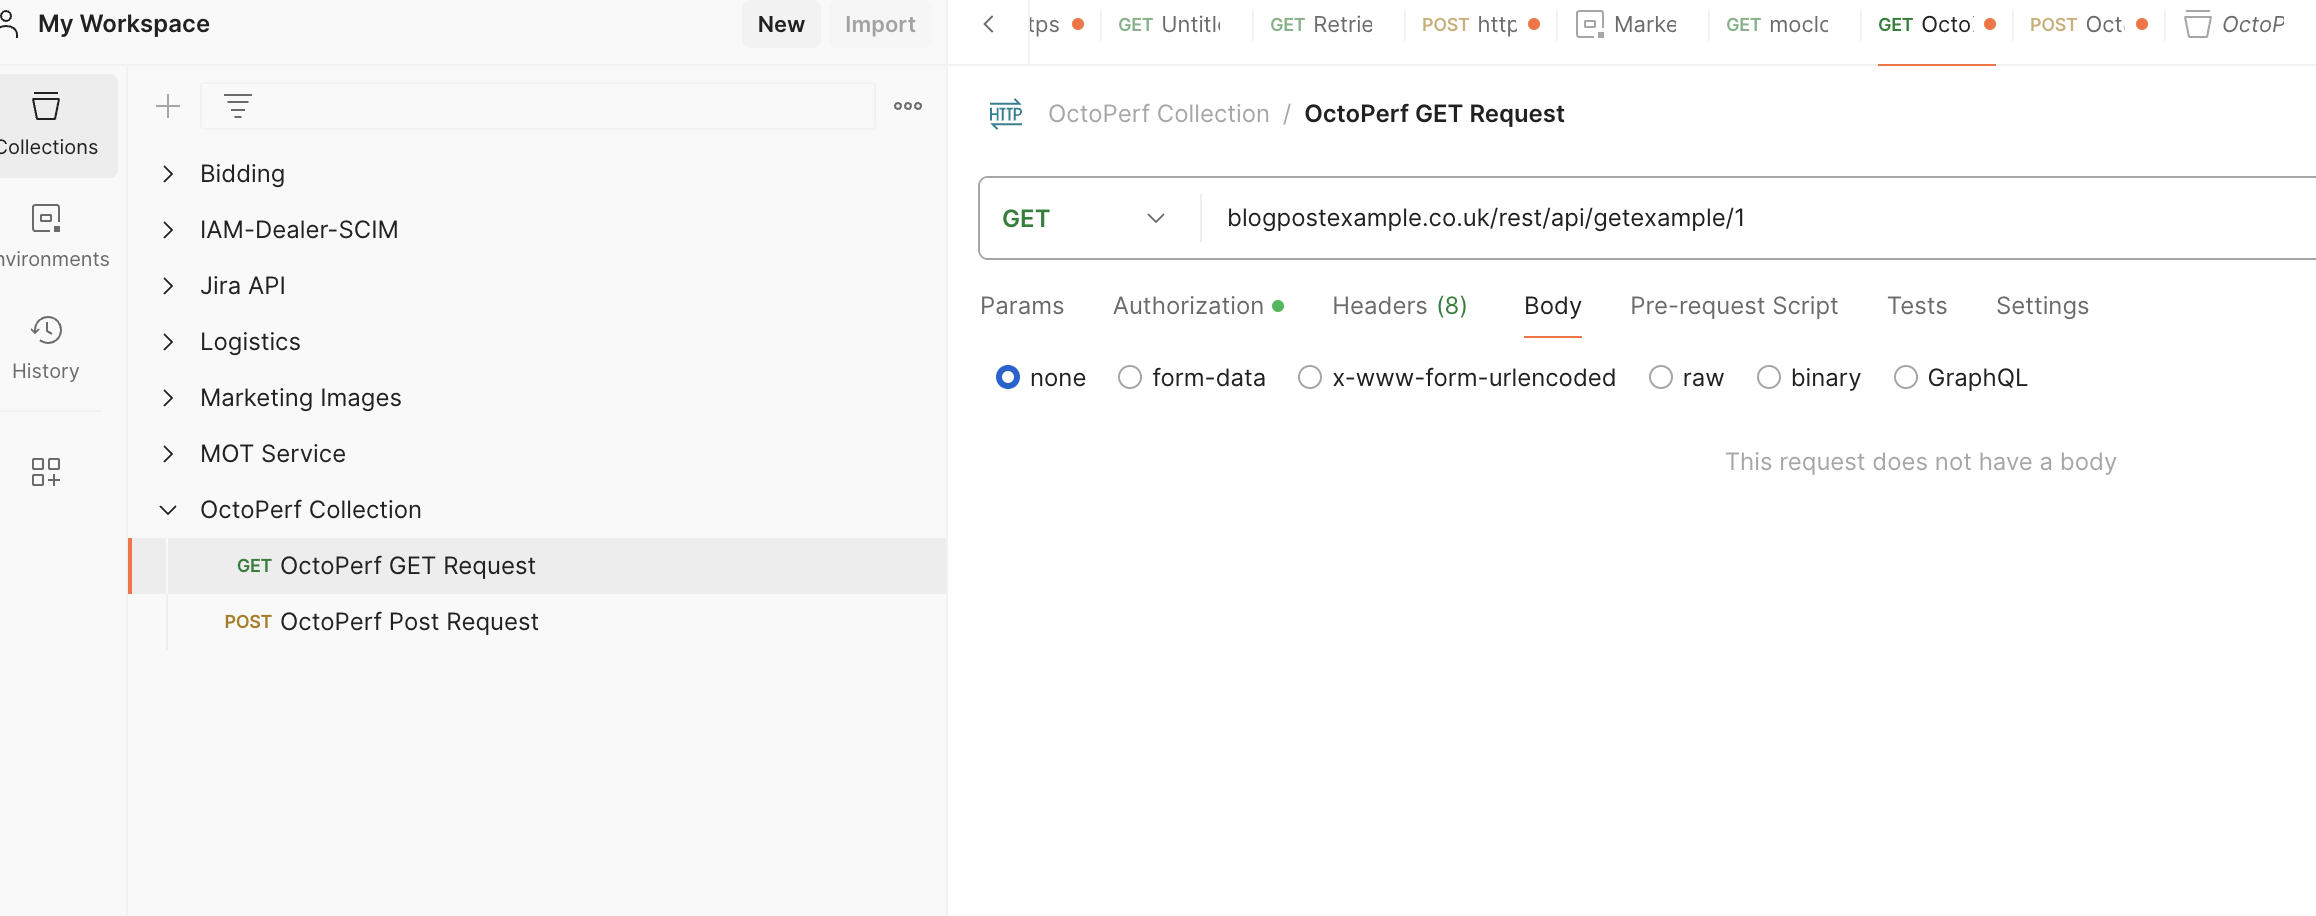
Our GET request is just a request to an endpoint with no payload:
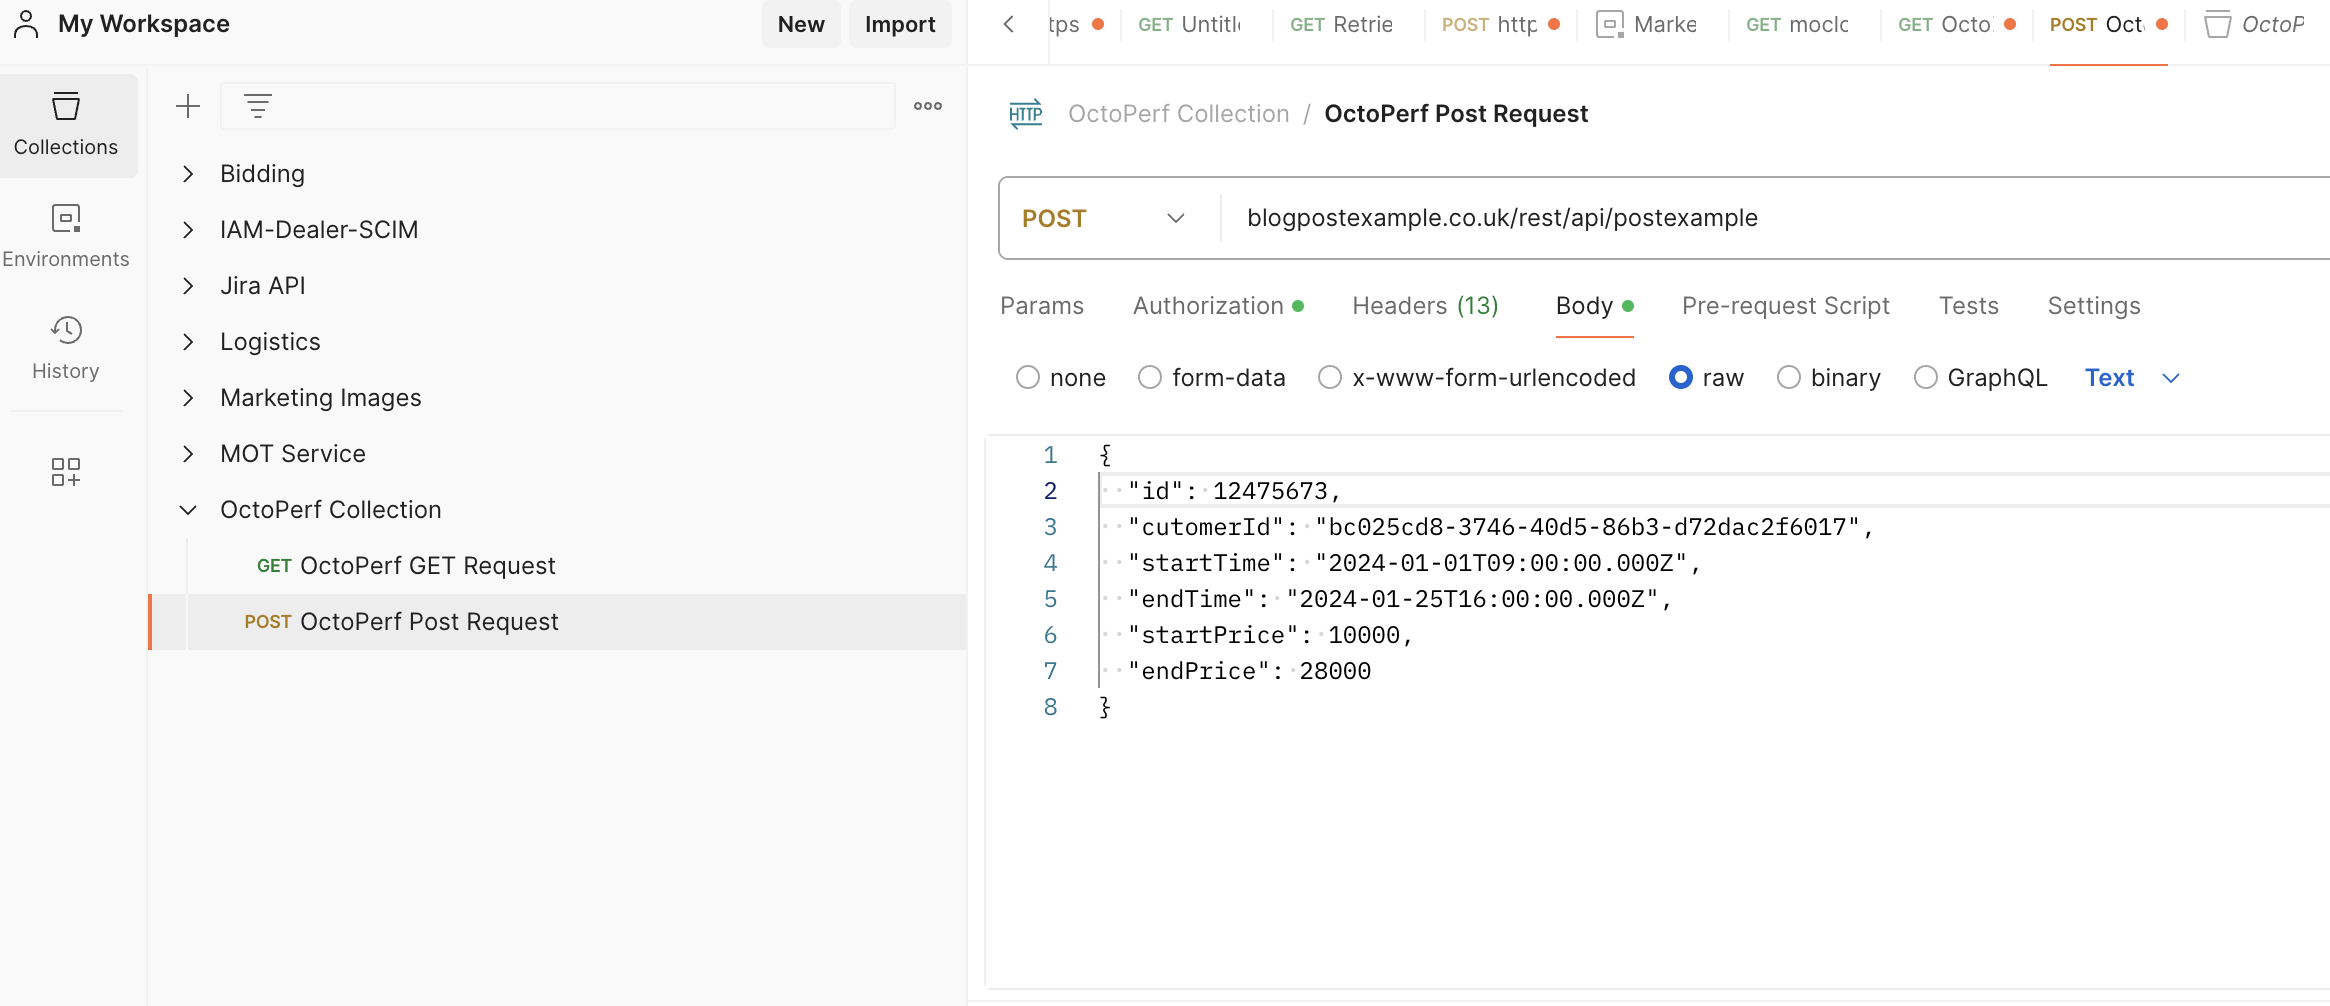
Our POST request looks like this:
If we execute these tests sequentially, we can see that we get a response 200 response from the GET request:
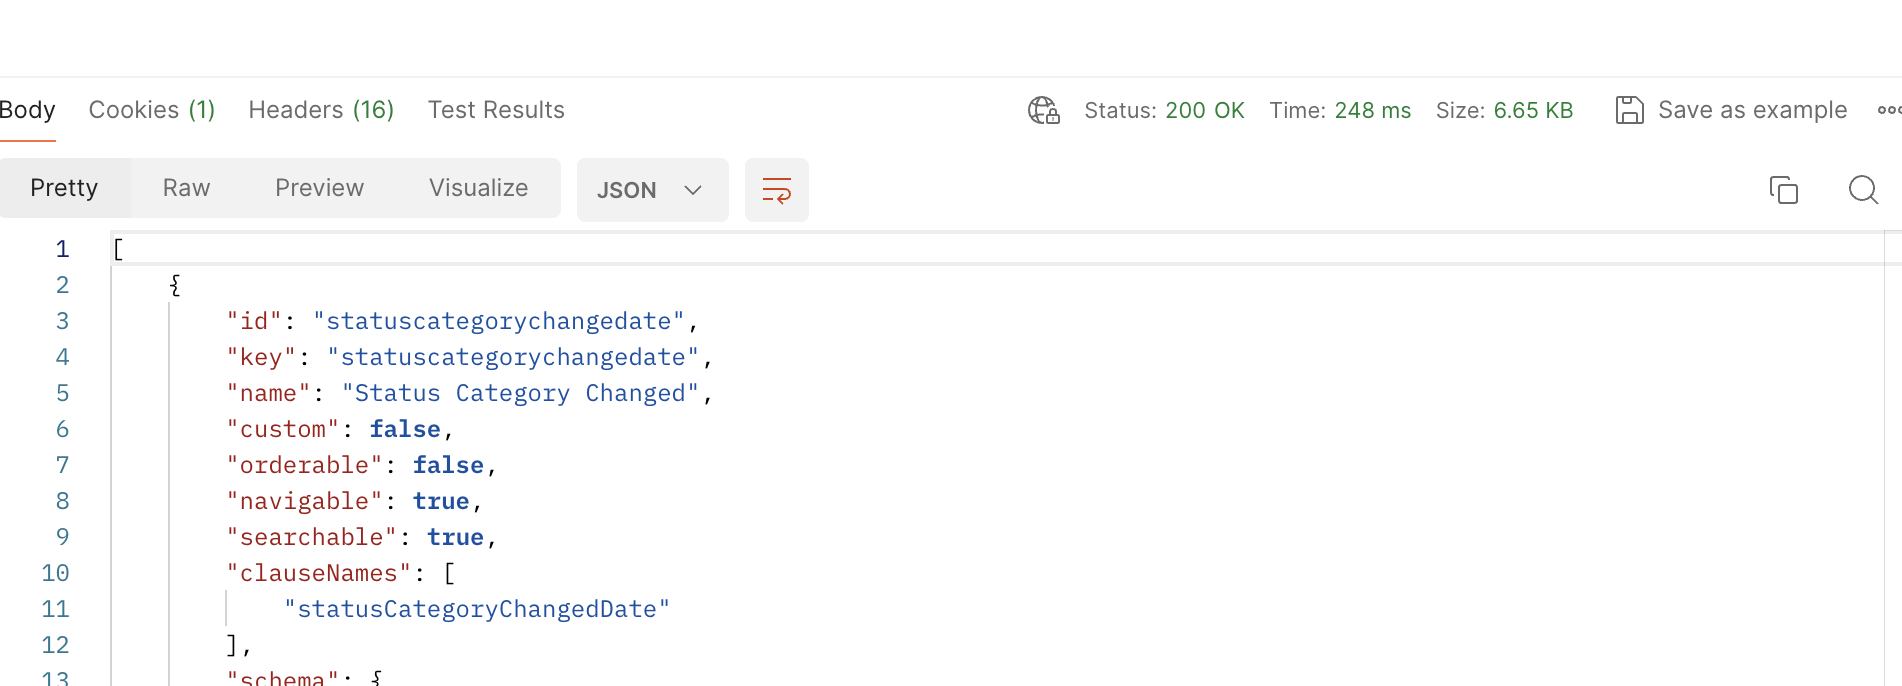
And we get a 200 response from the POST request:

Both these endpoints are dummy ones and the fact that the response makes no real sense does not matter.
We are just looking to demonstrate that they both work and we can see the response payload so we can compare this with our JMeter tests when we get to that point in this post.
Creating the JMeter tests
There are a couple of ways to translate your Postman collections into JMeter and we will look at these here.
The first is more consistent with the approach you would take when recording against any application and the second requires knowledge of creating JMeter tests directly in Java.
Recording Approach
Setup JMeter
The first approach is basically setting up JMeter as you would when recoding any application where you configure your browser to use your localhost as a proxy and define a port number to listen on.
You then set your JMeter HTTP(S) Test Script Recorder to use the same port and you then intercept and record the requests between the browser and your application. We will not discuss the general principles of recording tests in this blog post as we assume that you understand the basic principles of JMeter, however if you want a detailed insight into the process then there are many resources available online.
We will however step through the process to support the creation of JMeter tests from Postman.
If we start JMeter and select File->Template from the menu we are presented with a Template dialog.
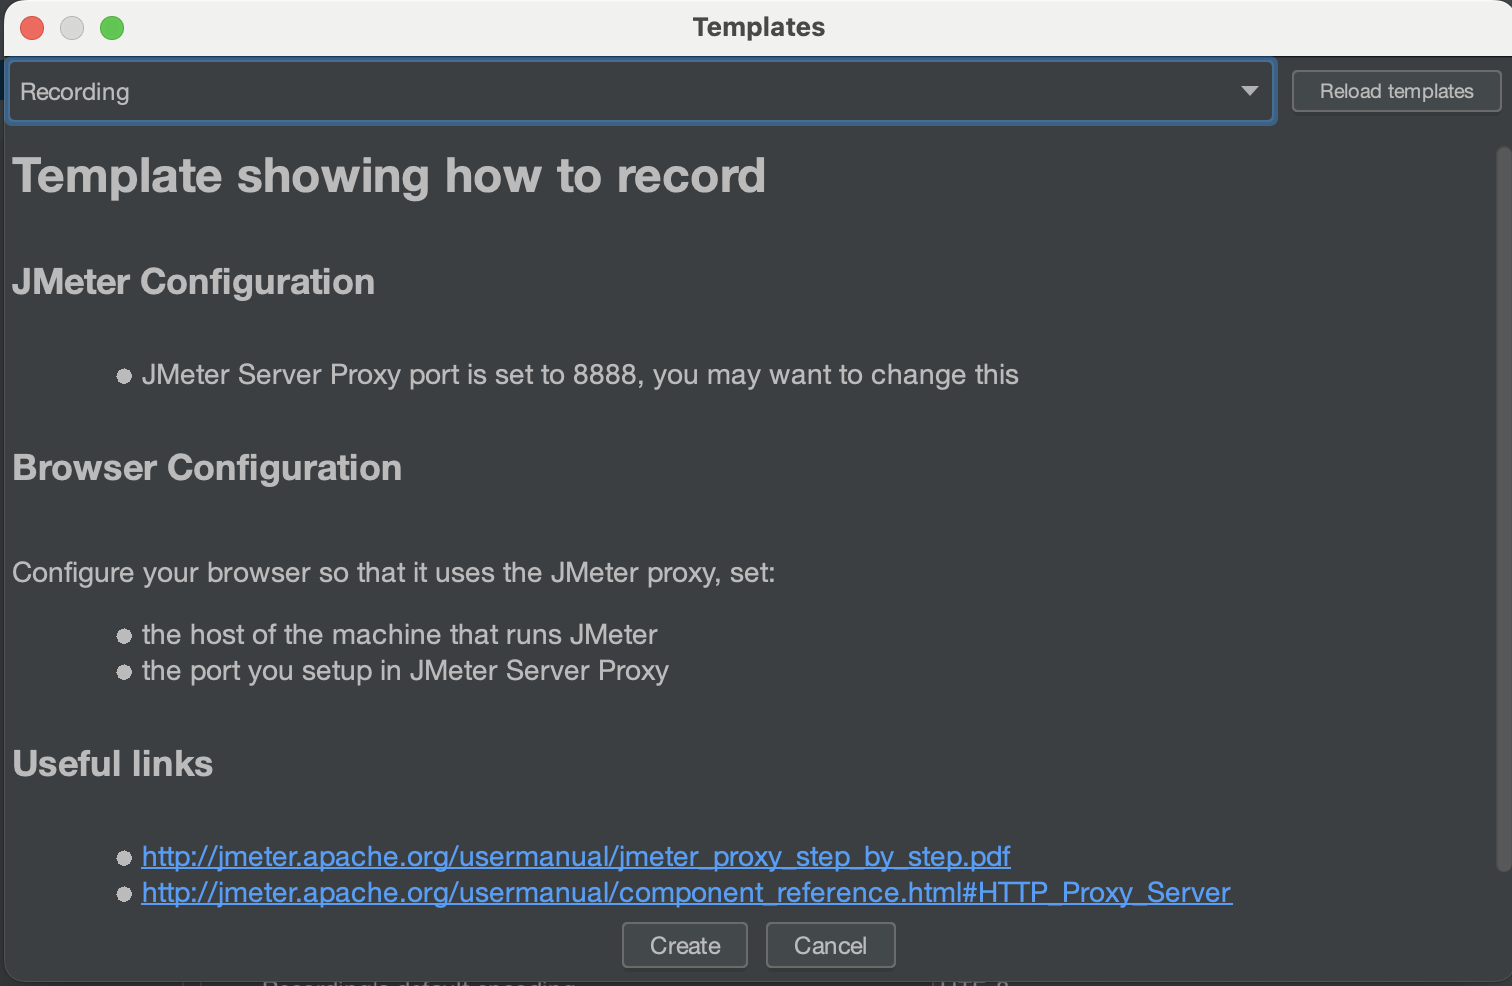
You can see from the screen shot that we have selected Recording from the drop-down list at the top of the dialog.
If you select Create you will be presented with a further dialog asking for some parameters.
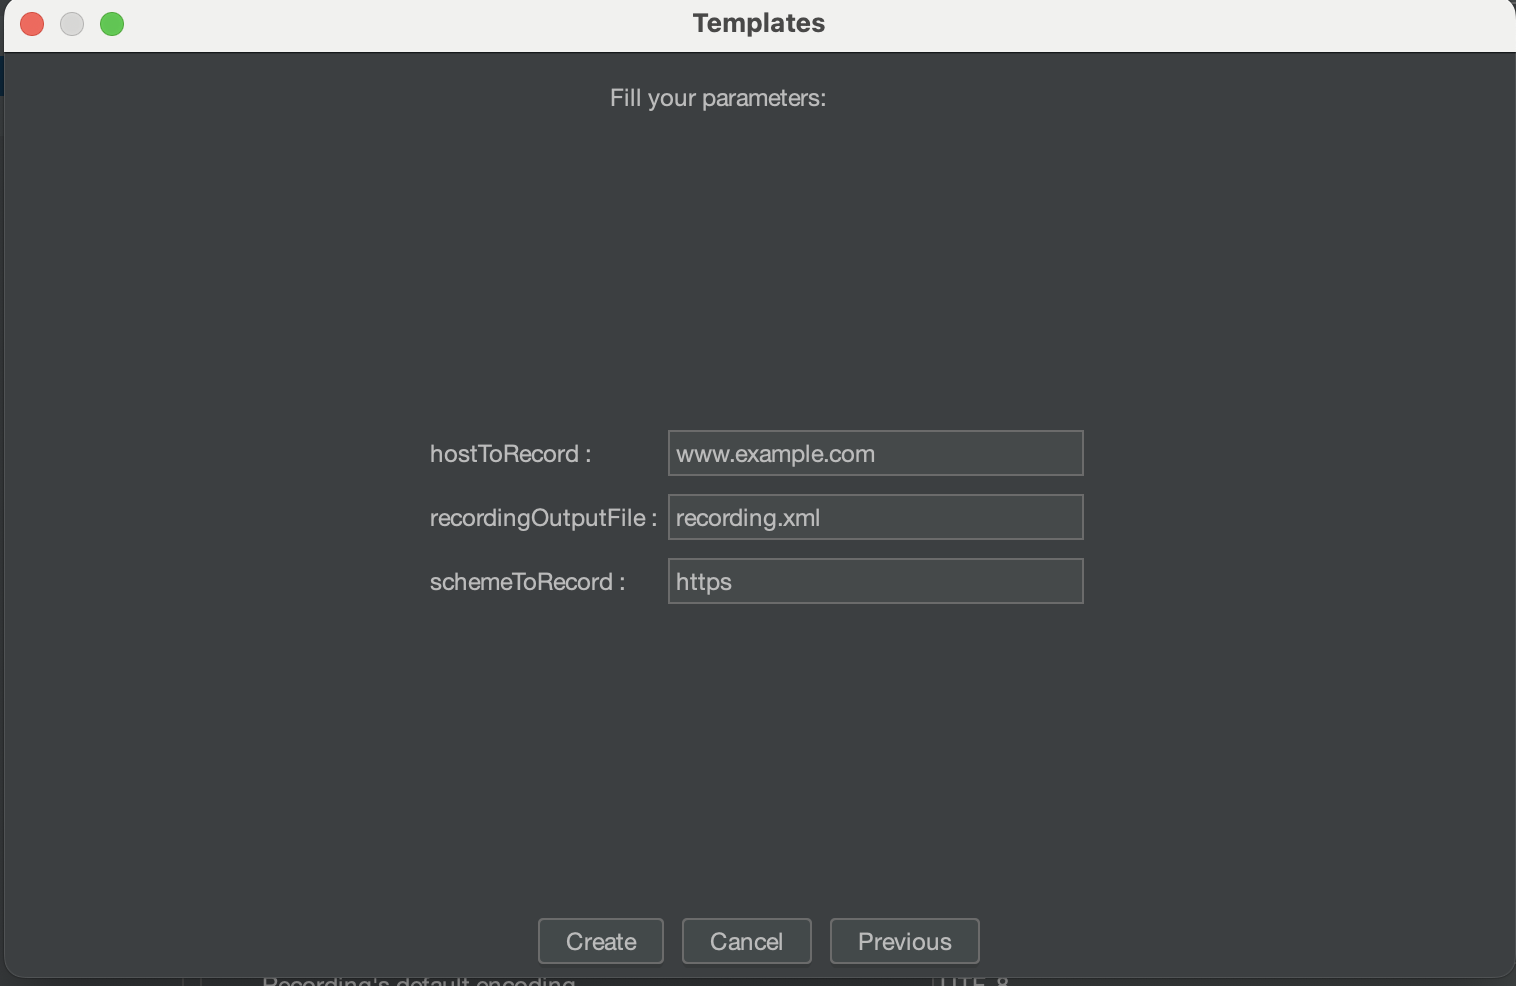
These values get added to a Requests Default Config Element.
These can be ignored if you want, or you can add your hostname details for your API tests into here should you wish to.
Press Create from this dialog and you have your Test Plan ready to record.
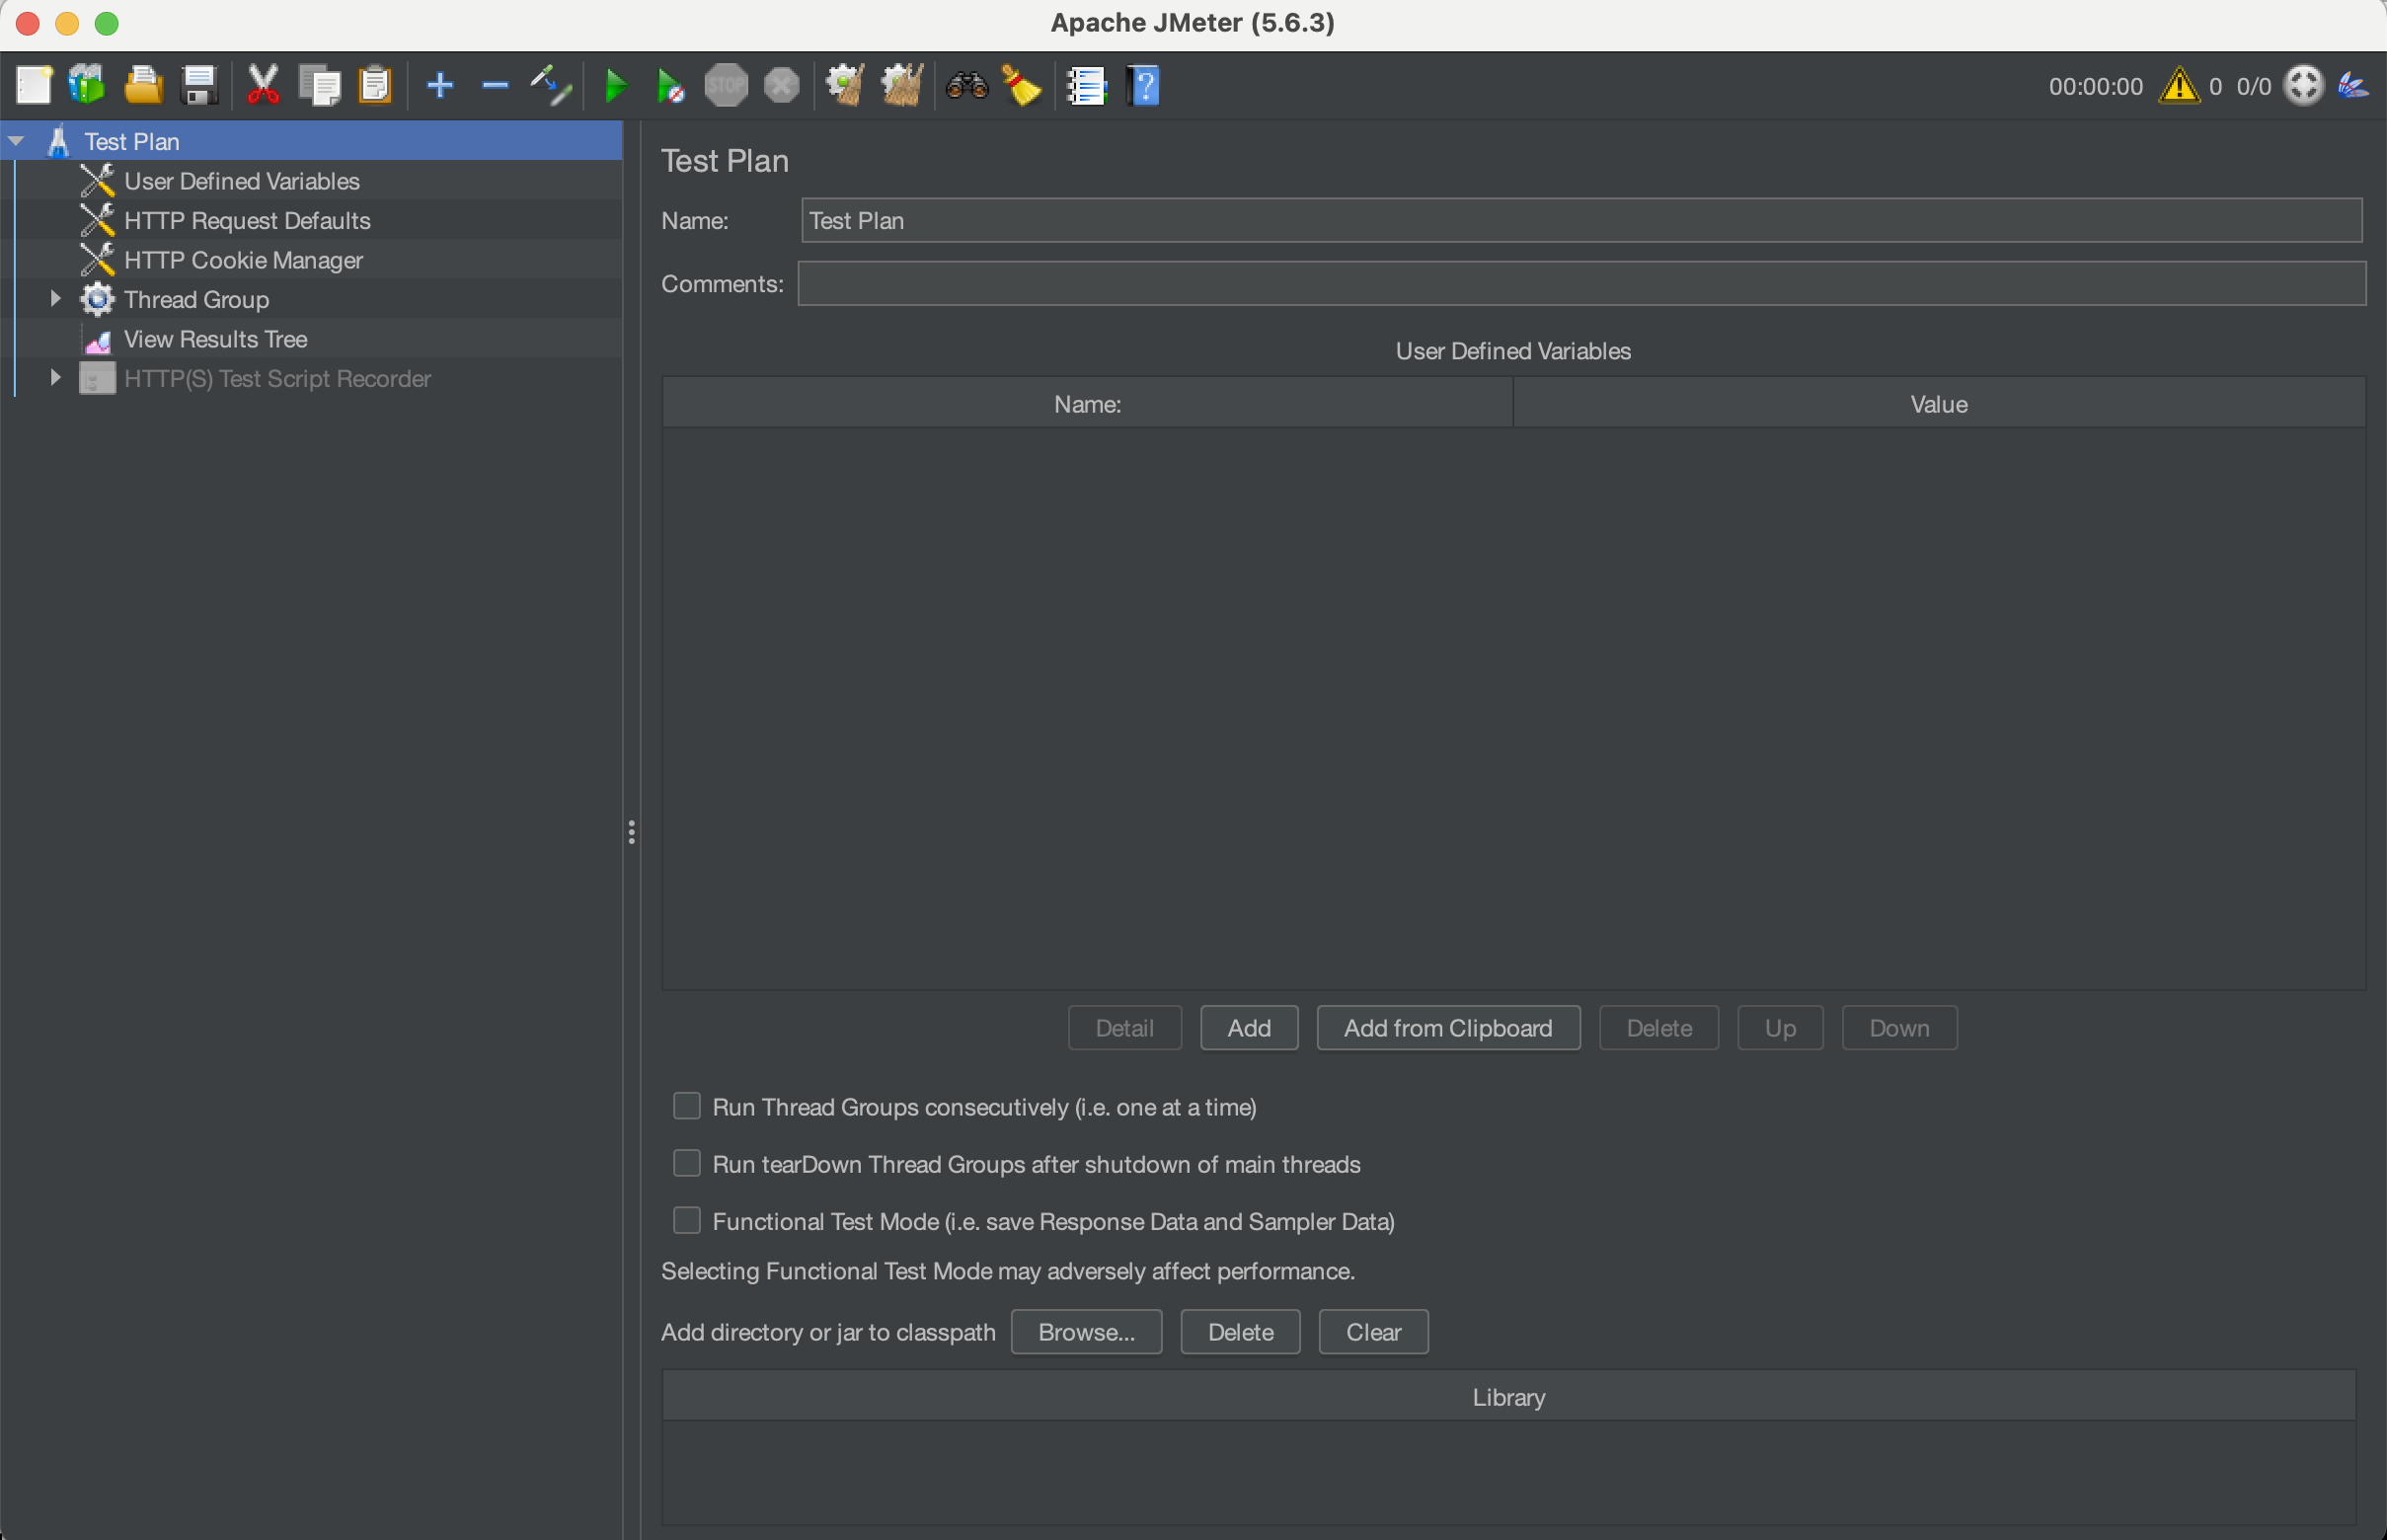
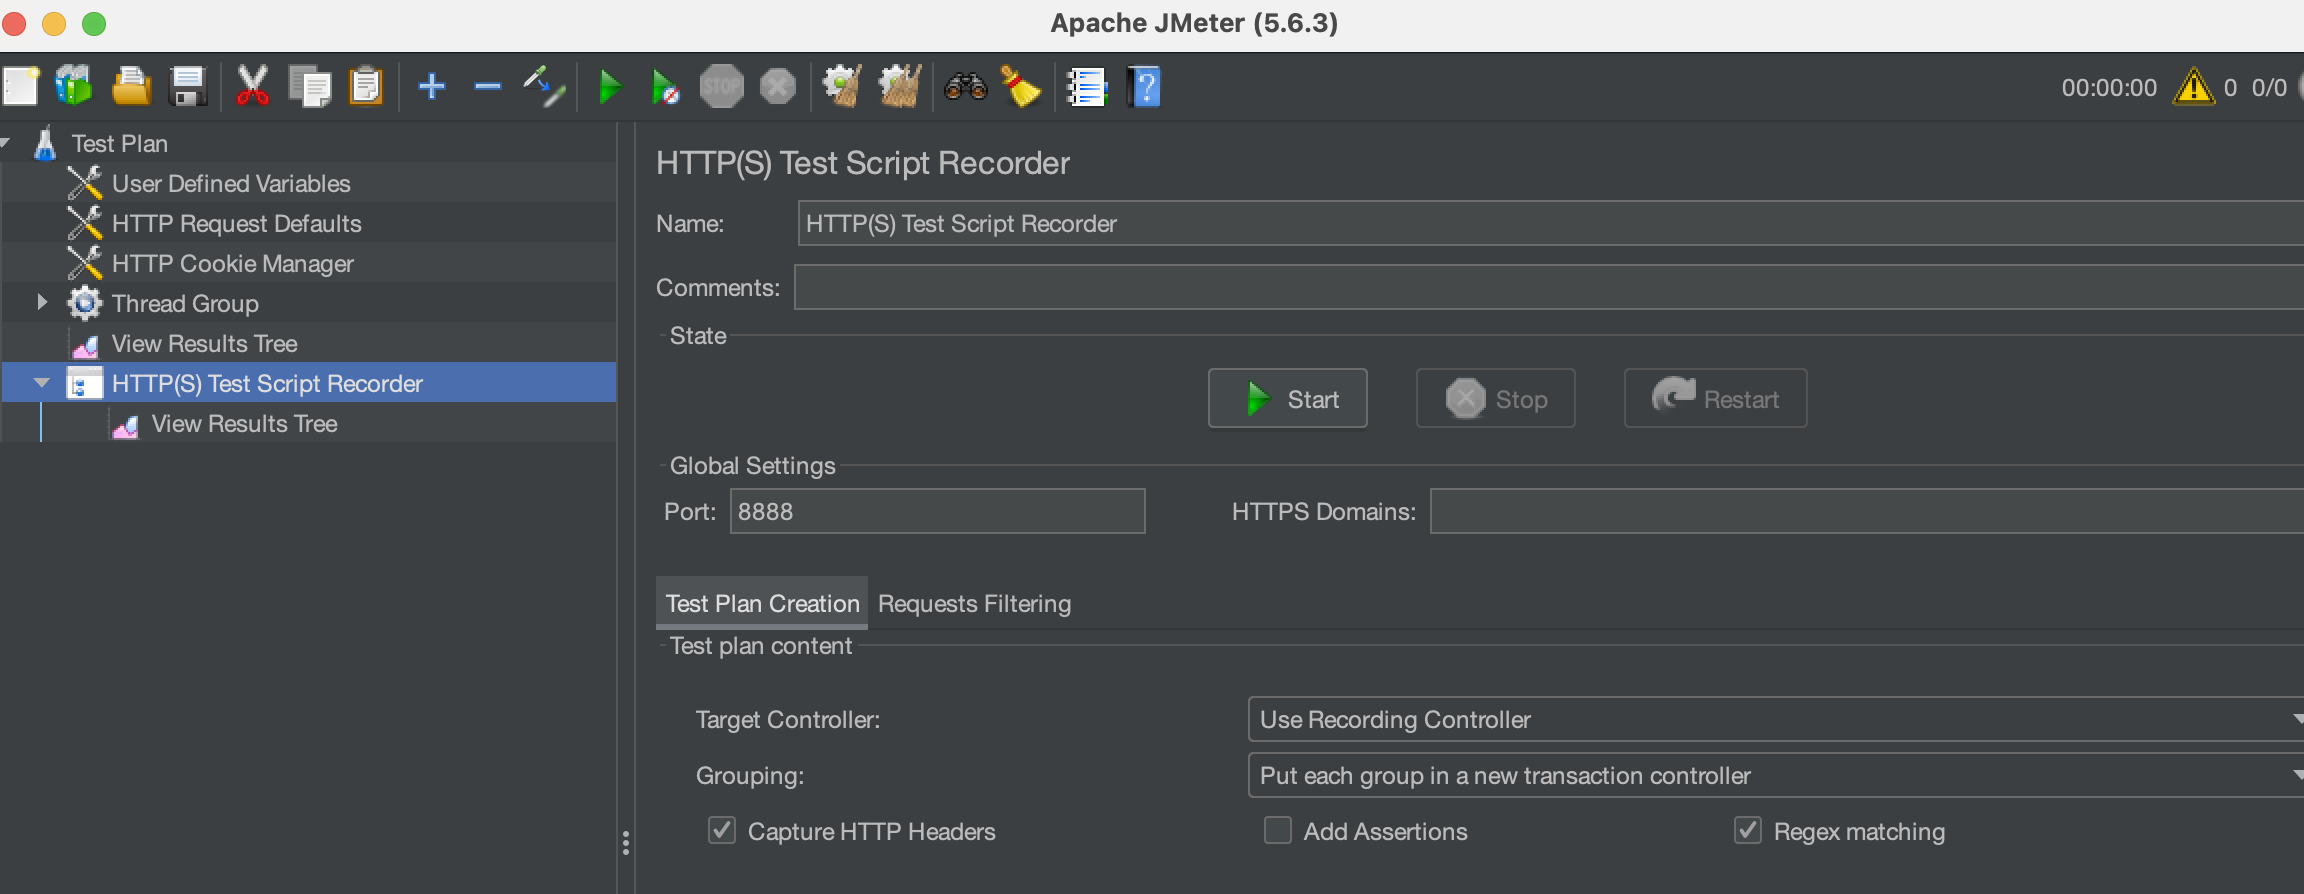
If we select the HTTP(S) Test Script Recorder element in our test we are presented with several options, the JMeter documentation provides a detailed definition of all of these but for the purposes of this post we are only concerned with the Port number.
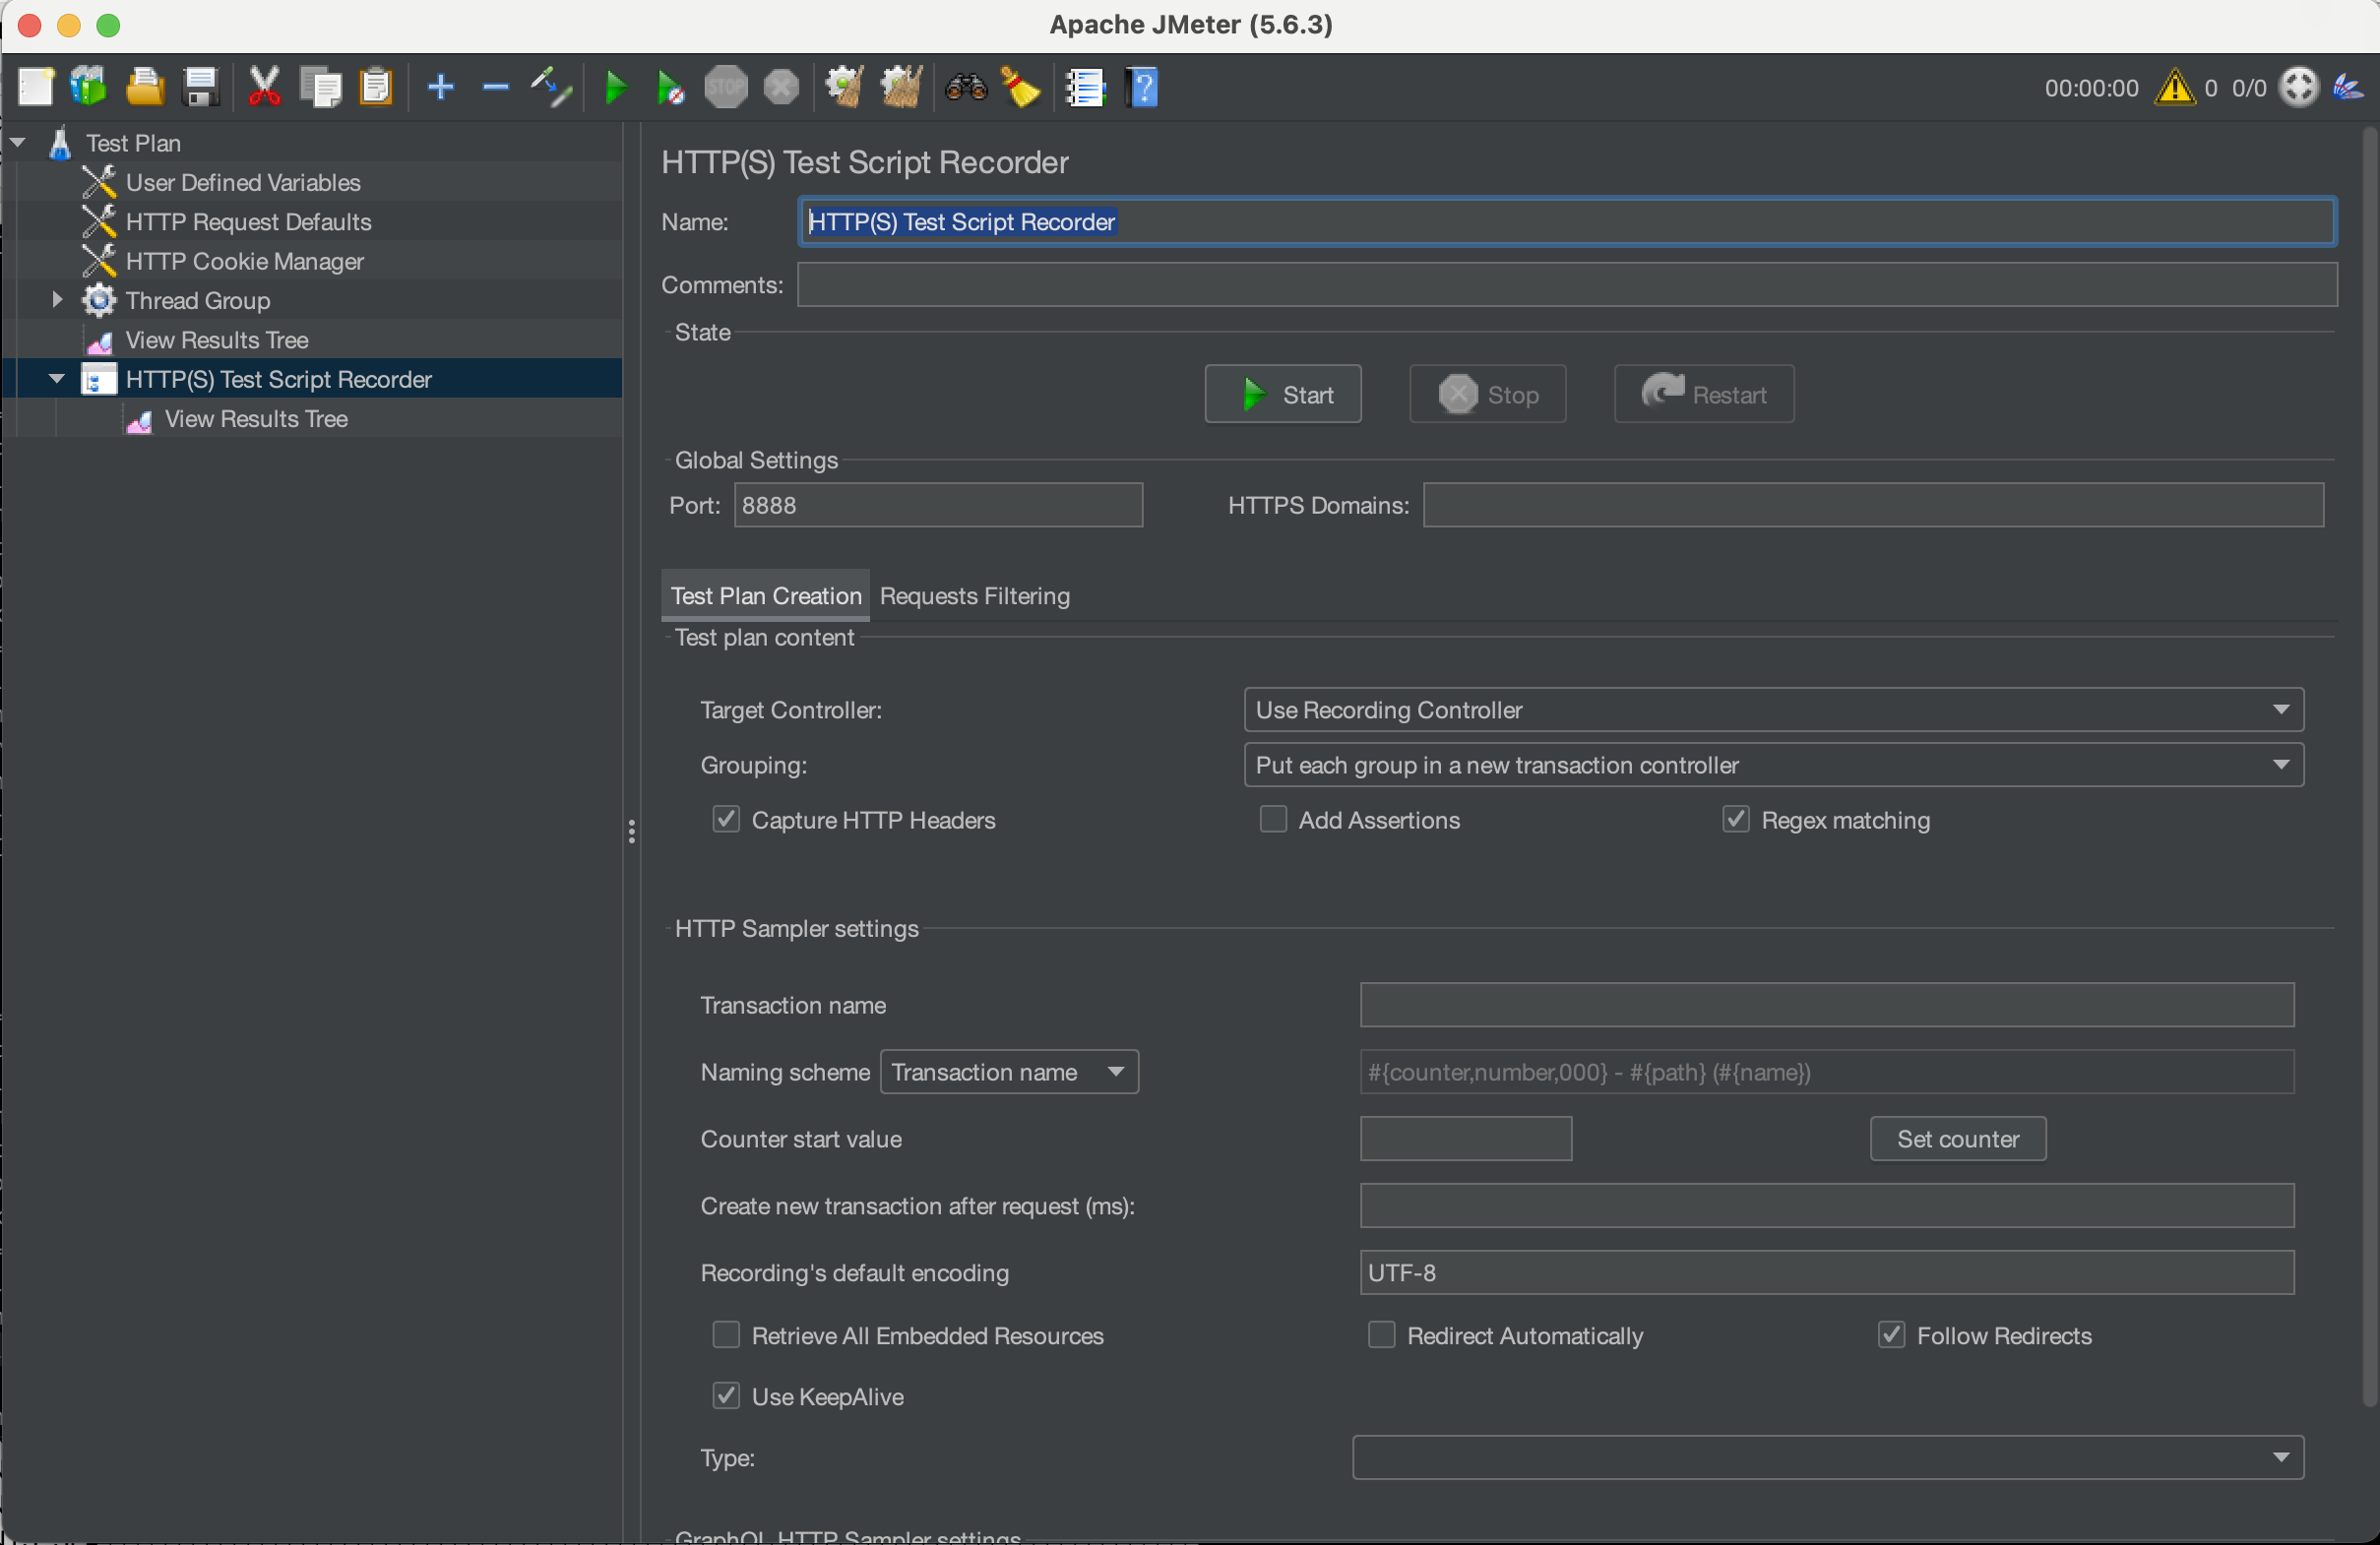
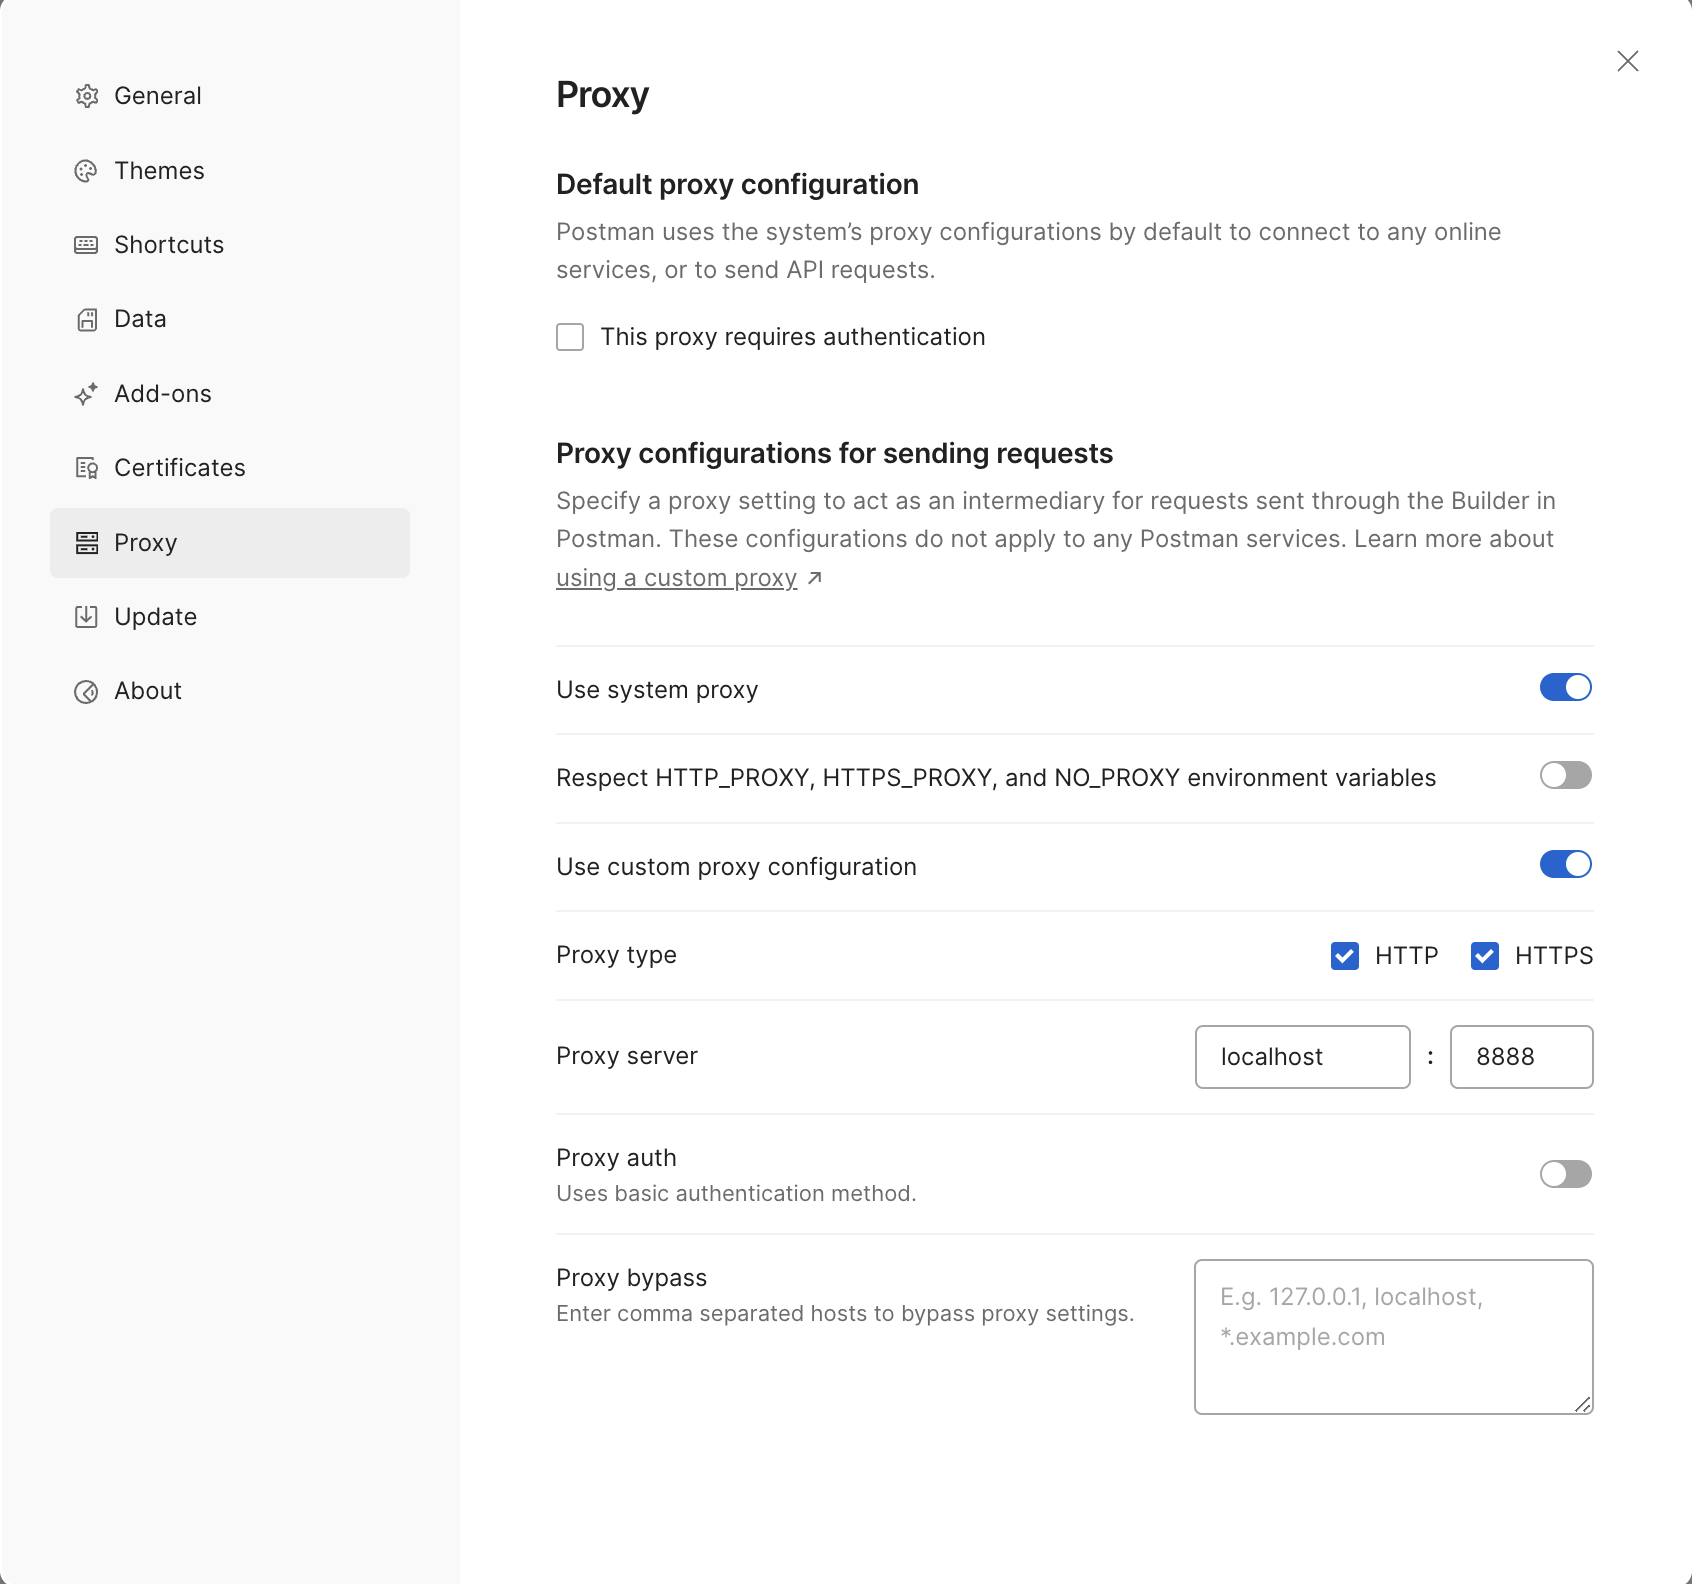
We will leave this as 8888.
Setup Postman
When you create a HTTP(S) Test Script Recorder a self-signed certificate that allows JMeter to decrypt the HTTP requests is created, this is in the /bin directory of your JMeter installation.
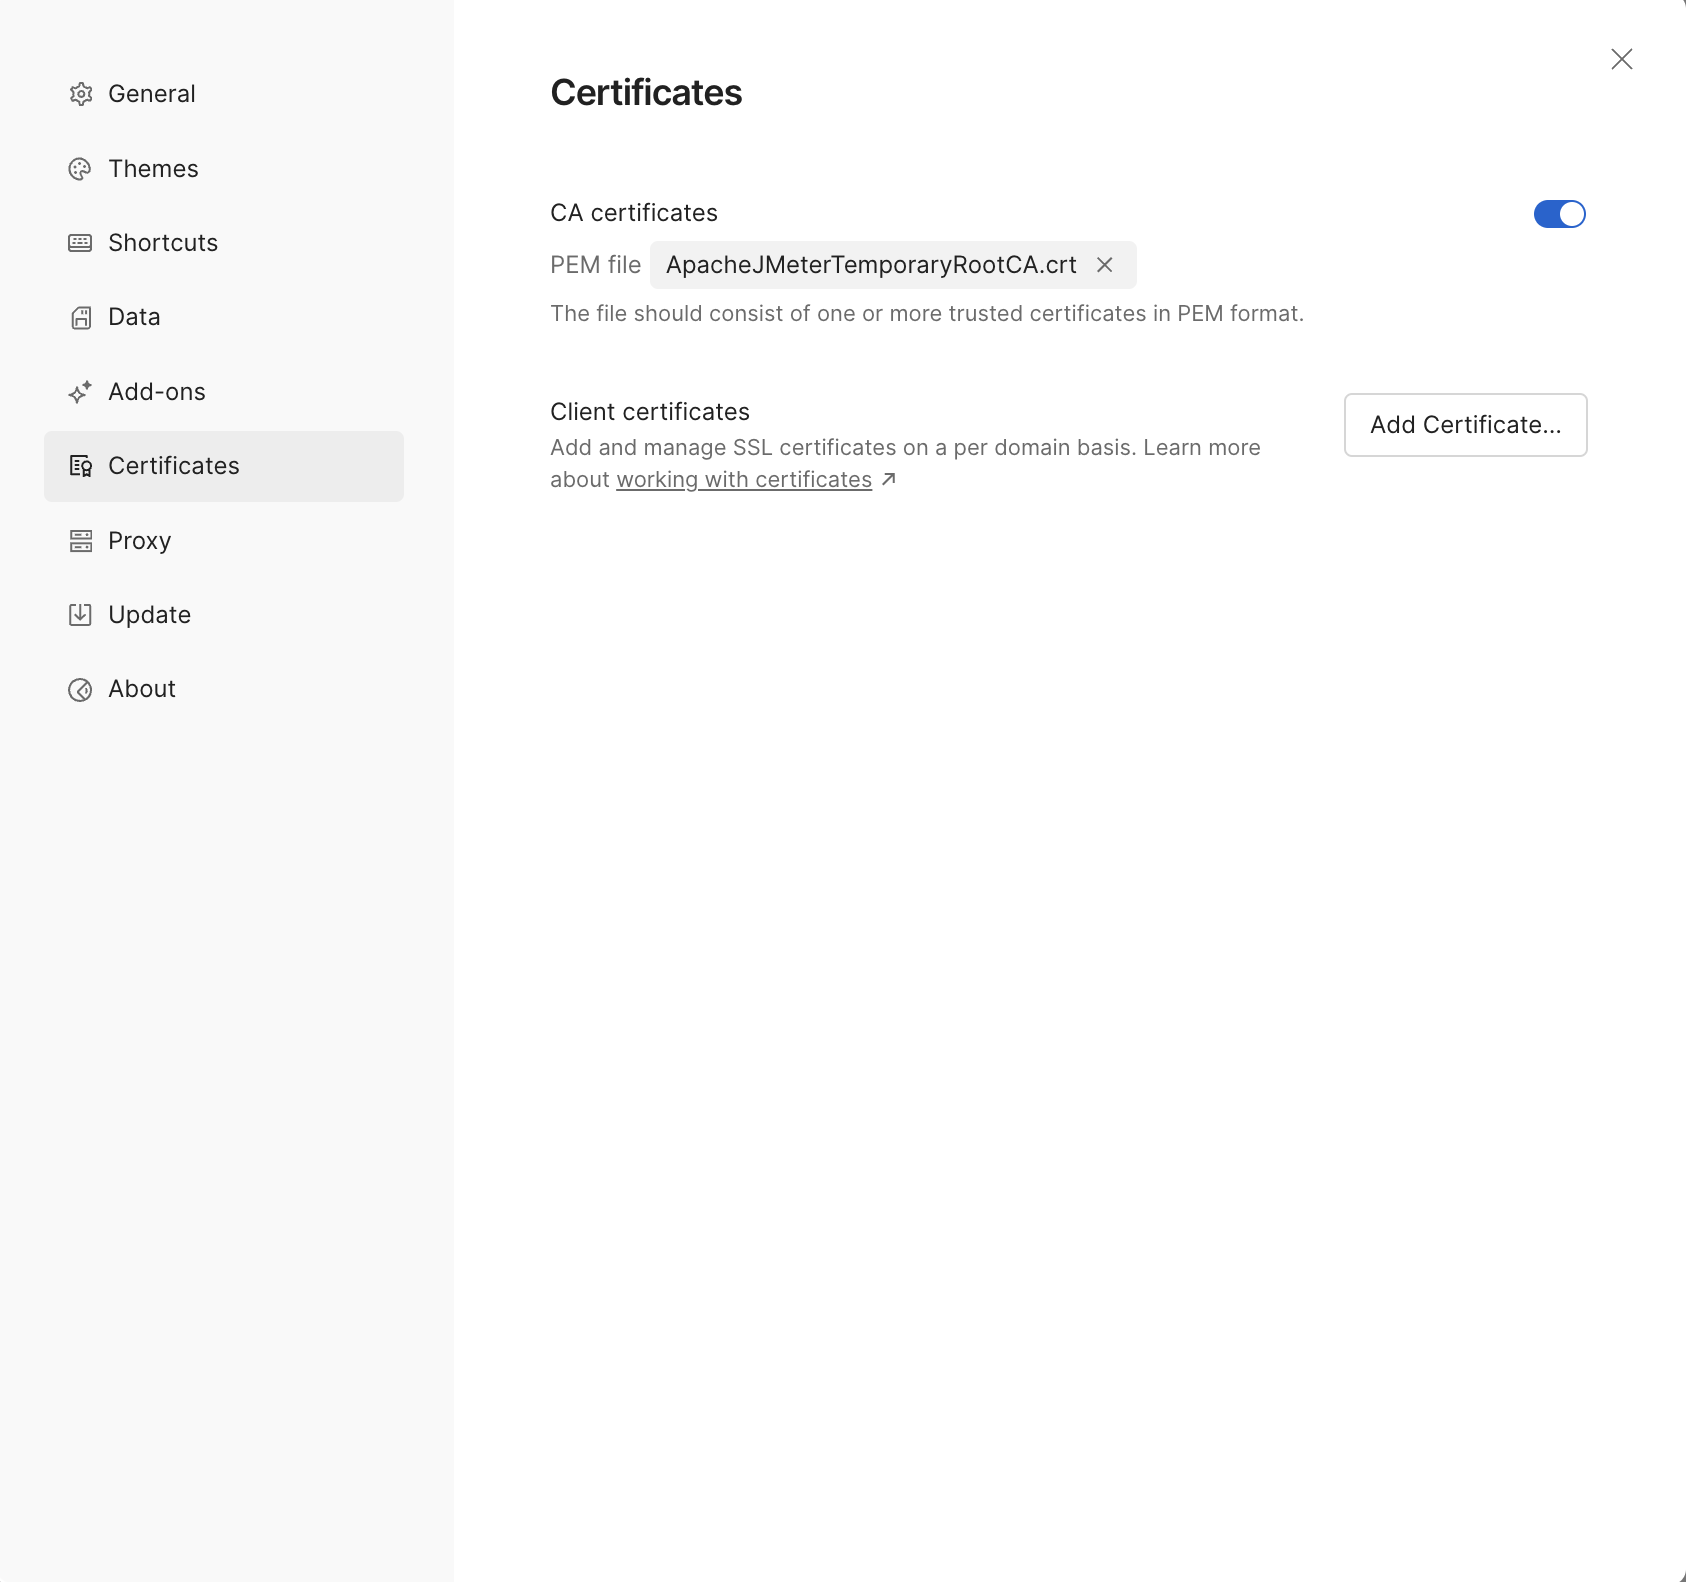
This is called ApacheJMeterTemporaryRootCA.crt.

You need to add this to Postman for JMeter to capture and record the API requests you have in your collection.
You add the certificate by selecting settings in Postman and then in the dialog you are presented with select the Certificates option from the sidebar.
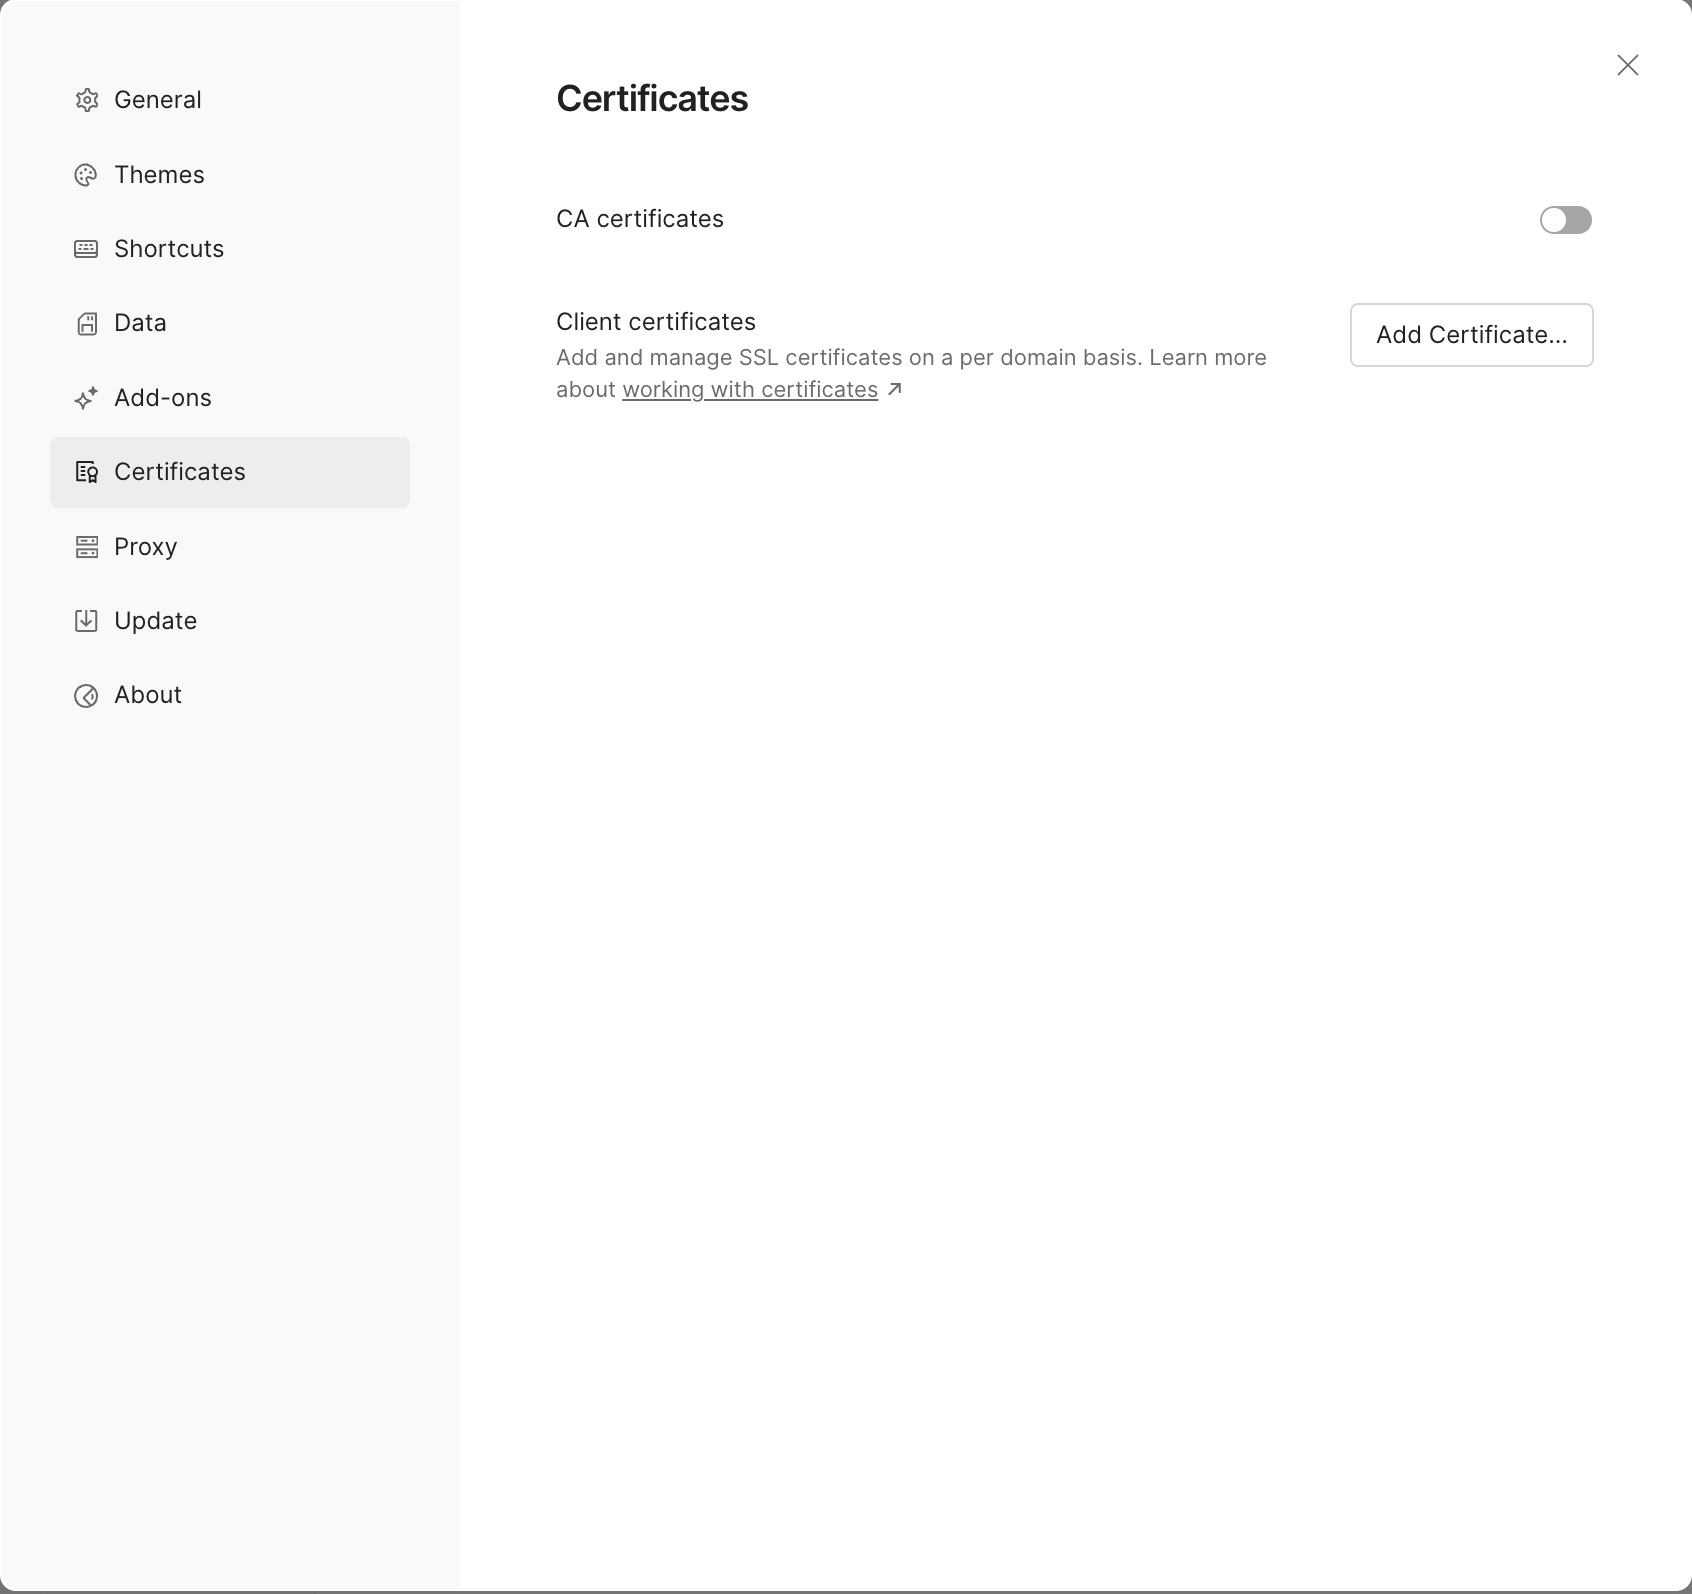
Toggle on the CA Certificates option and locate your ApacheJMeterTemporaryRootCA.crt.
You now need to select the Proxy option from the dialog.
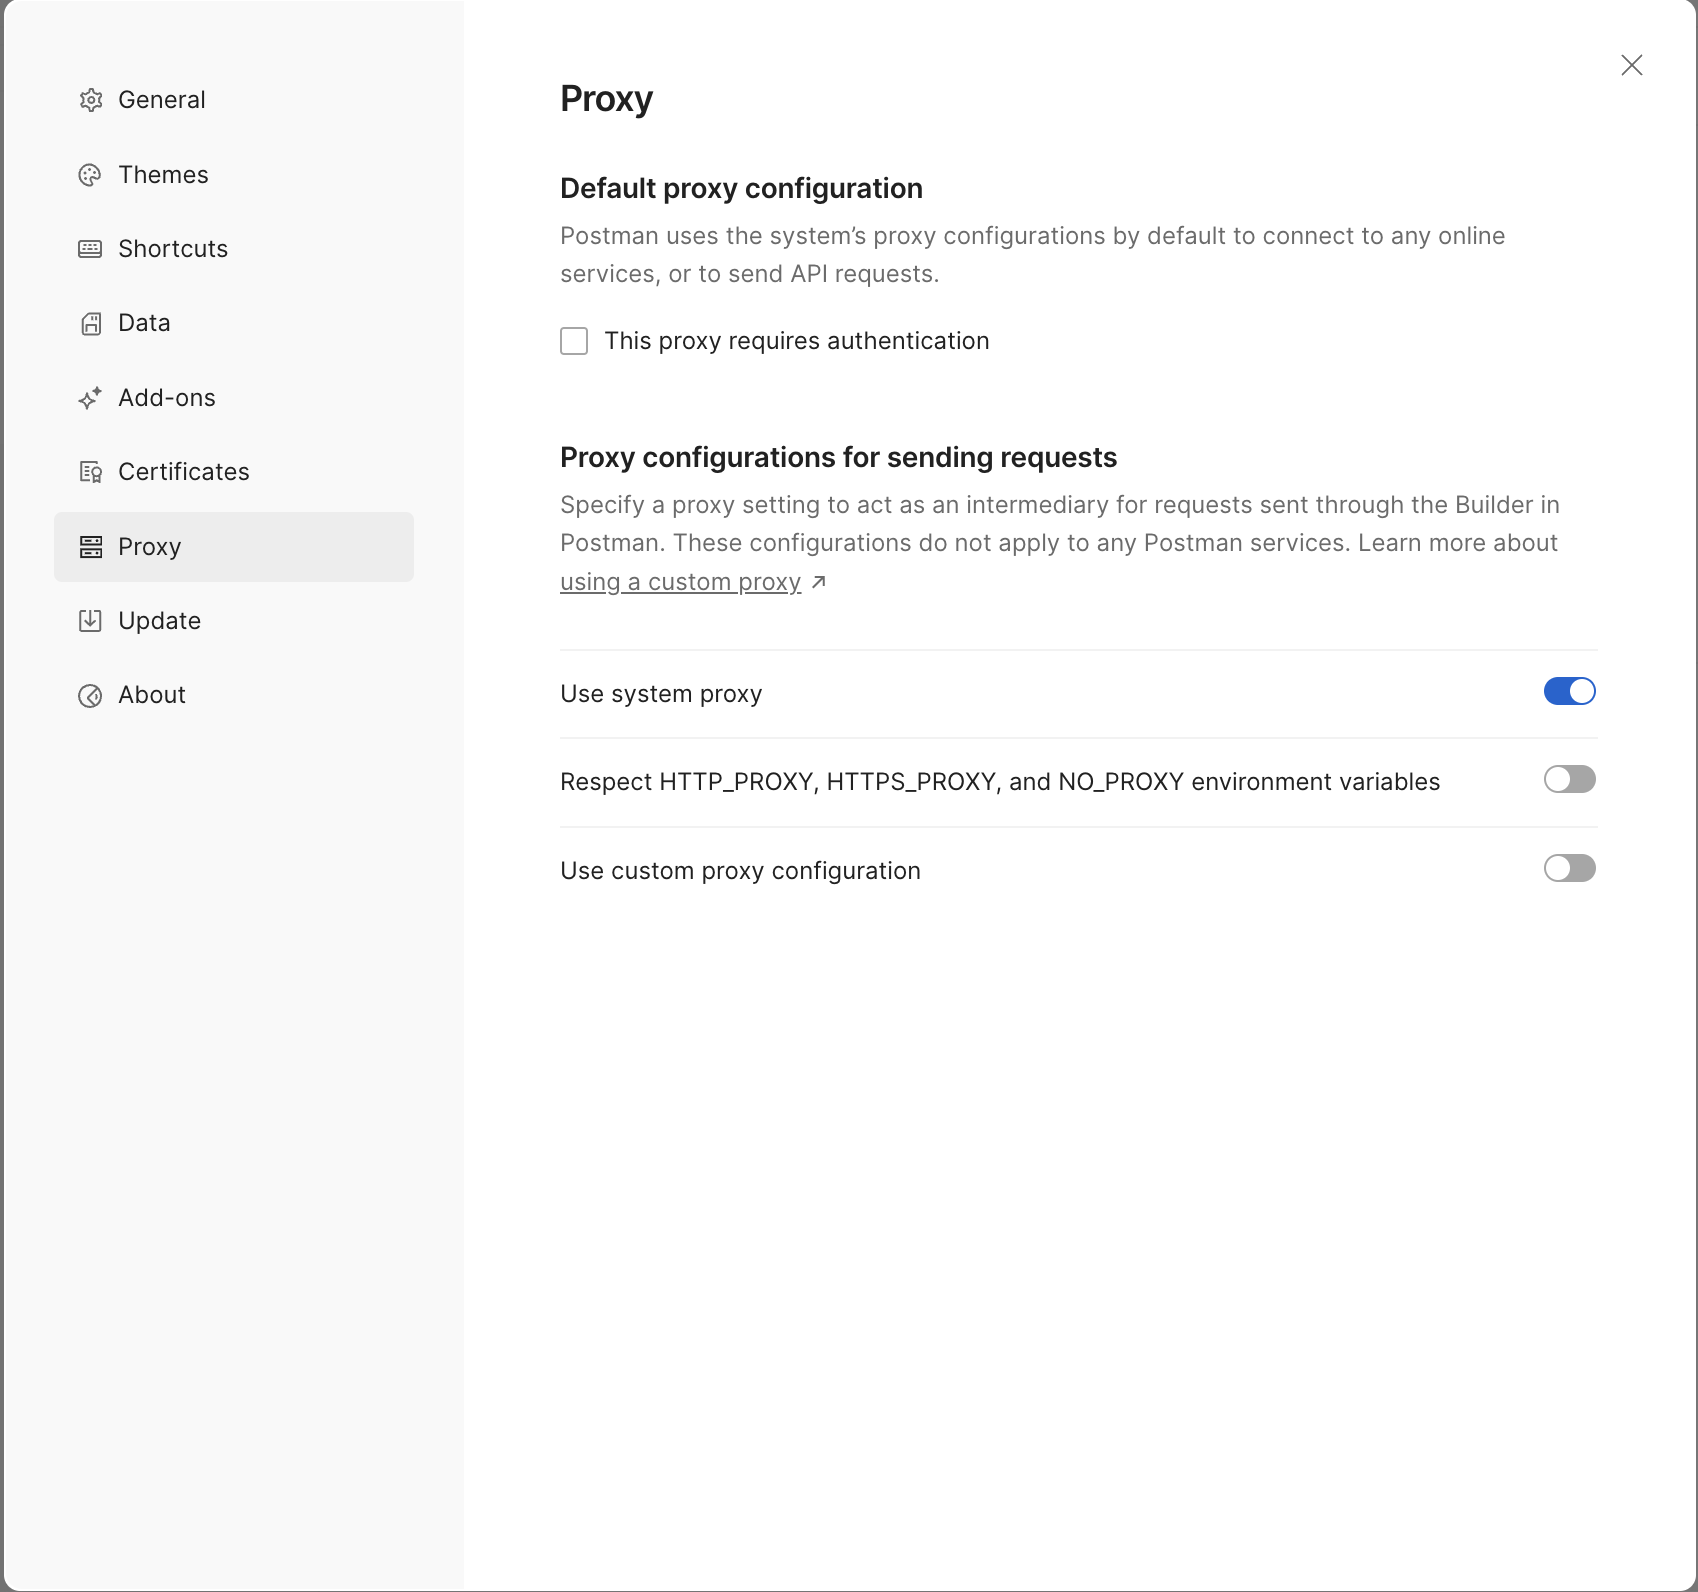
Toggle on the Use custom proxy configuration option and configure it for both HTTP and HTTPS, set the Proxy server to be localhost and we will set our Port to be 8888 to match our JMeter HTTP(S) Test Script Recorder.
You can now close the dialog.
We have now configured Postman to use JMeter as a proxy.
Record our test
If we now switch back to JMeter and select the HTTP(S) Test Script Recorder and click on the Start button.
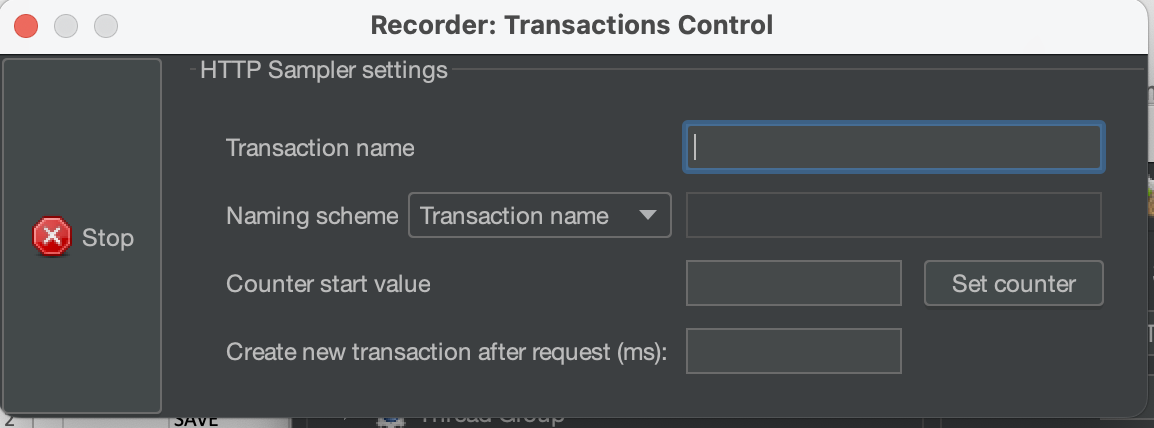
We are presented with the Recorder: Transactions Controller.
If we enter the name of our GET request in the Transaction name field.
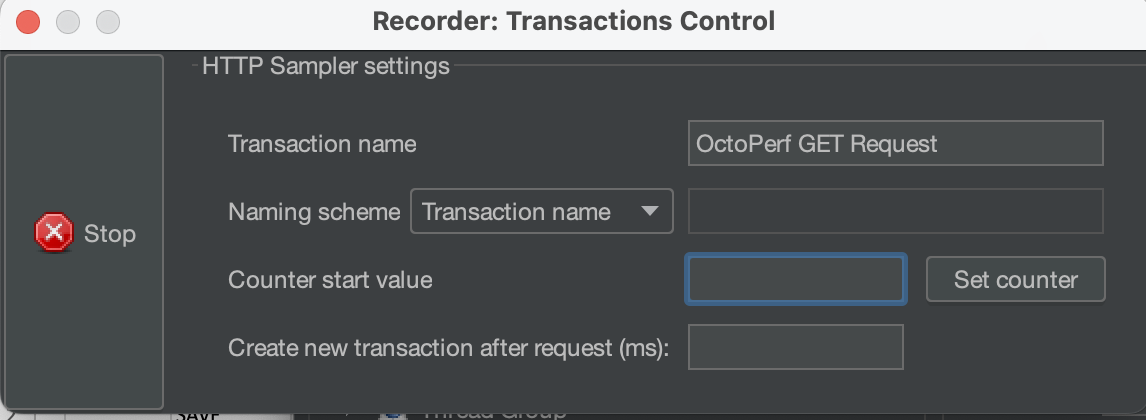
We then switch to Postman and send the GET request.
We then update the Transaction name field to be the name of the POST request.
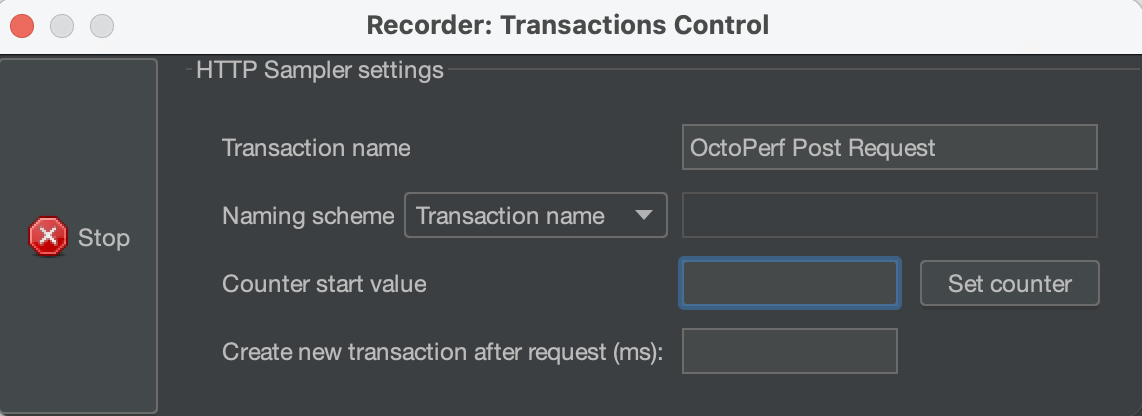
And the switch to Postman and send the POST request.
Select Stop from the Recorder: Transactions Controller to stop recording.
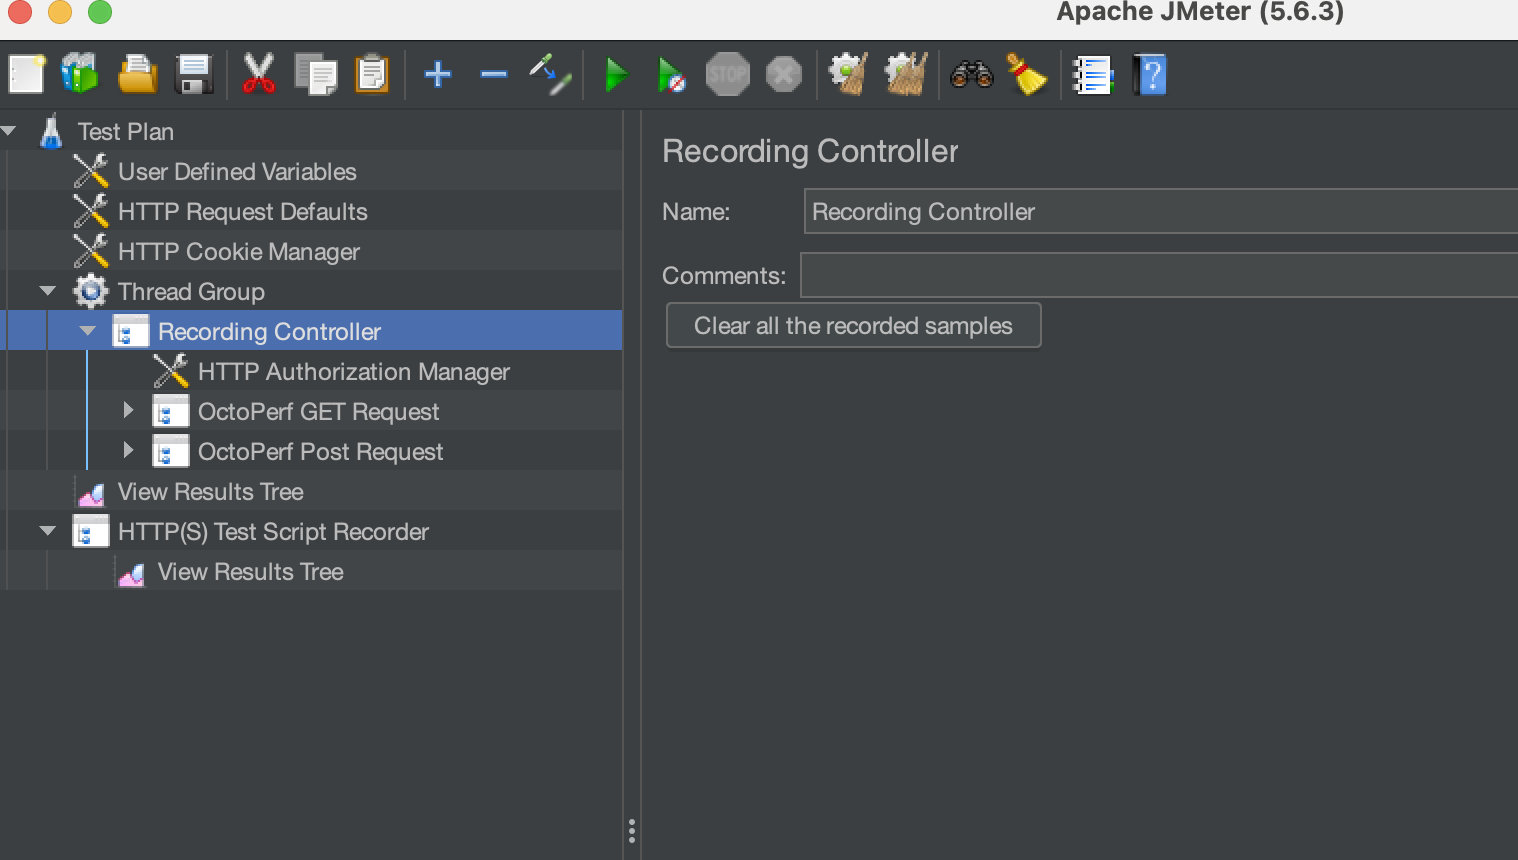
If we go to JMeter and expand our Recording Controller we can see that we have two transaction controllers, one for each request we have send from Postman.
Playback our test
Before we continue we will just tidy up our test and save it, at this point we can remove all the recoding elements and move the Transaction Controllers directly under the Thread Group.
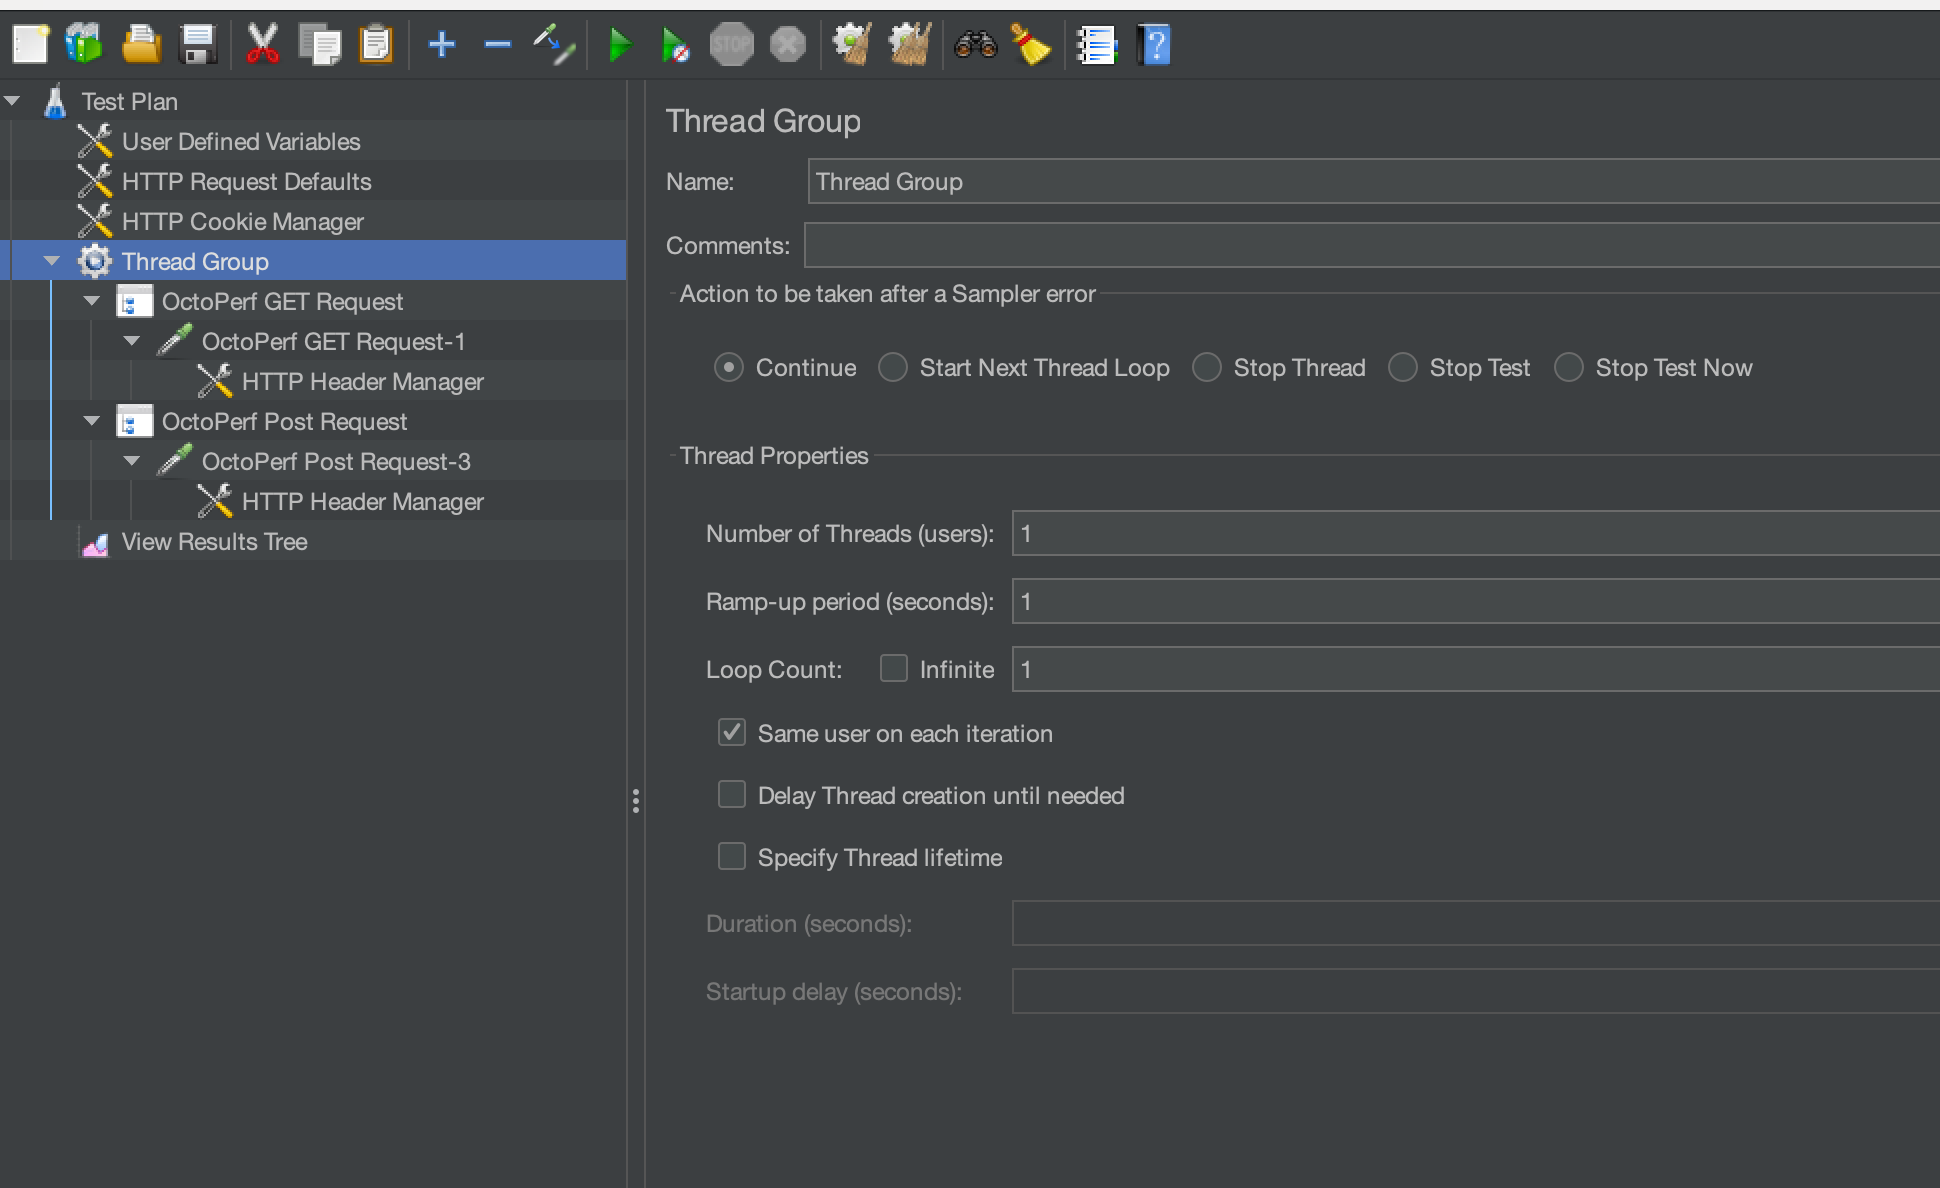
You can see that we have a HTTP Request Sampler and a HTTP Header Manager for each of our requests.
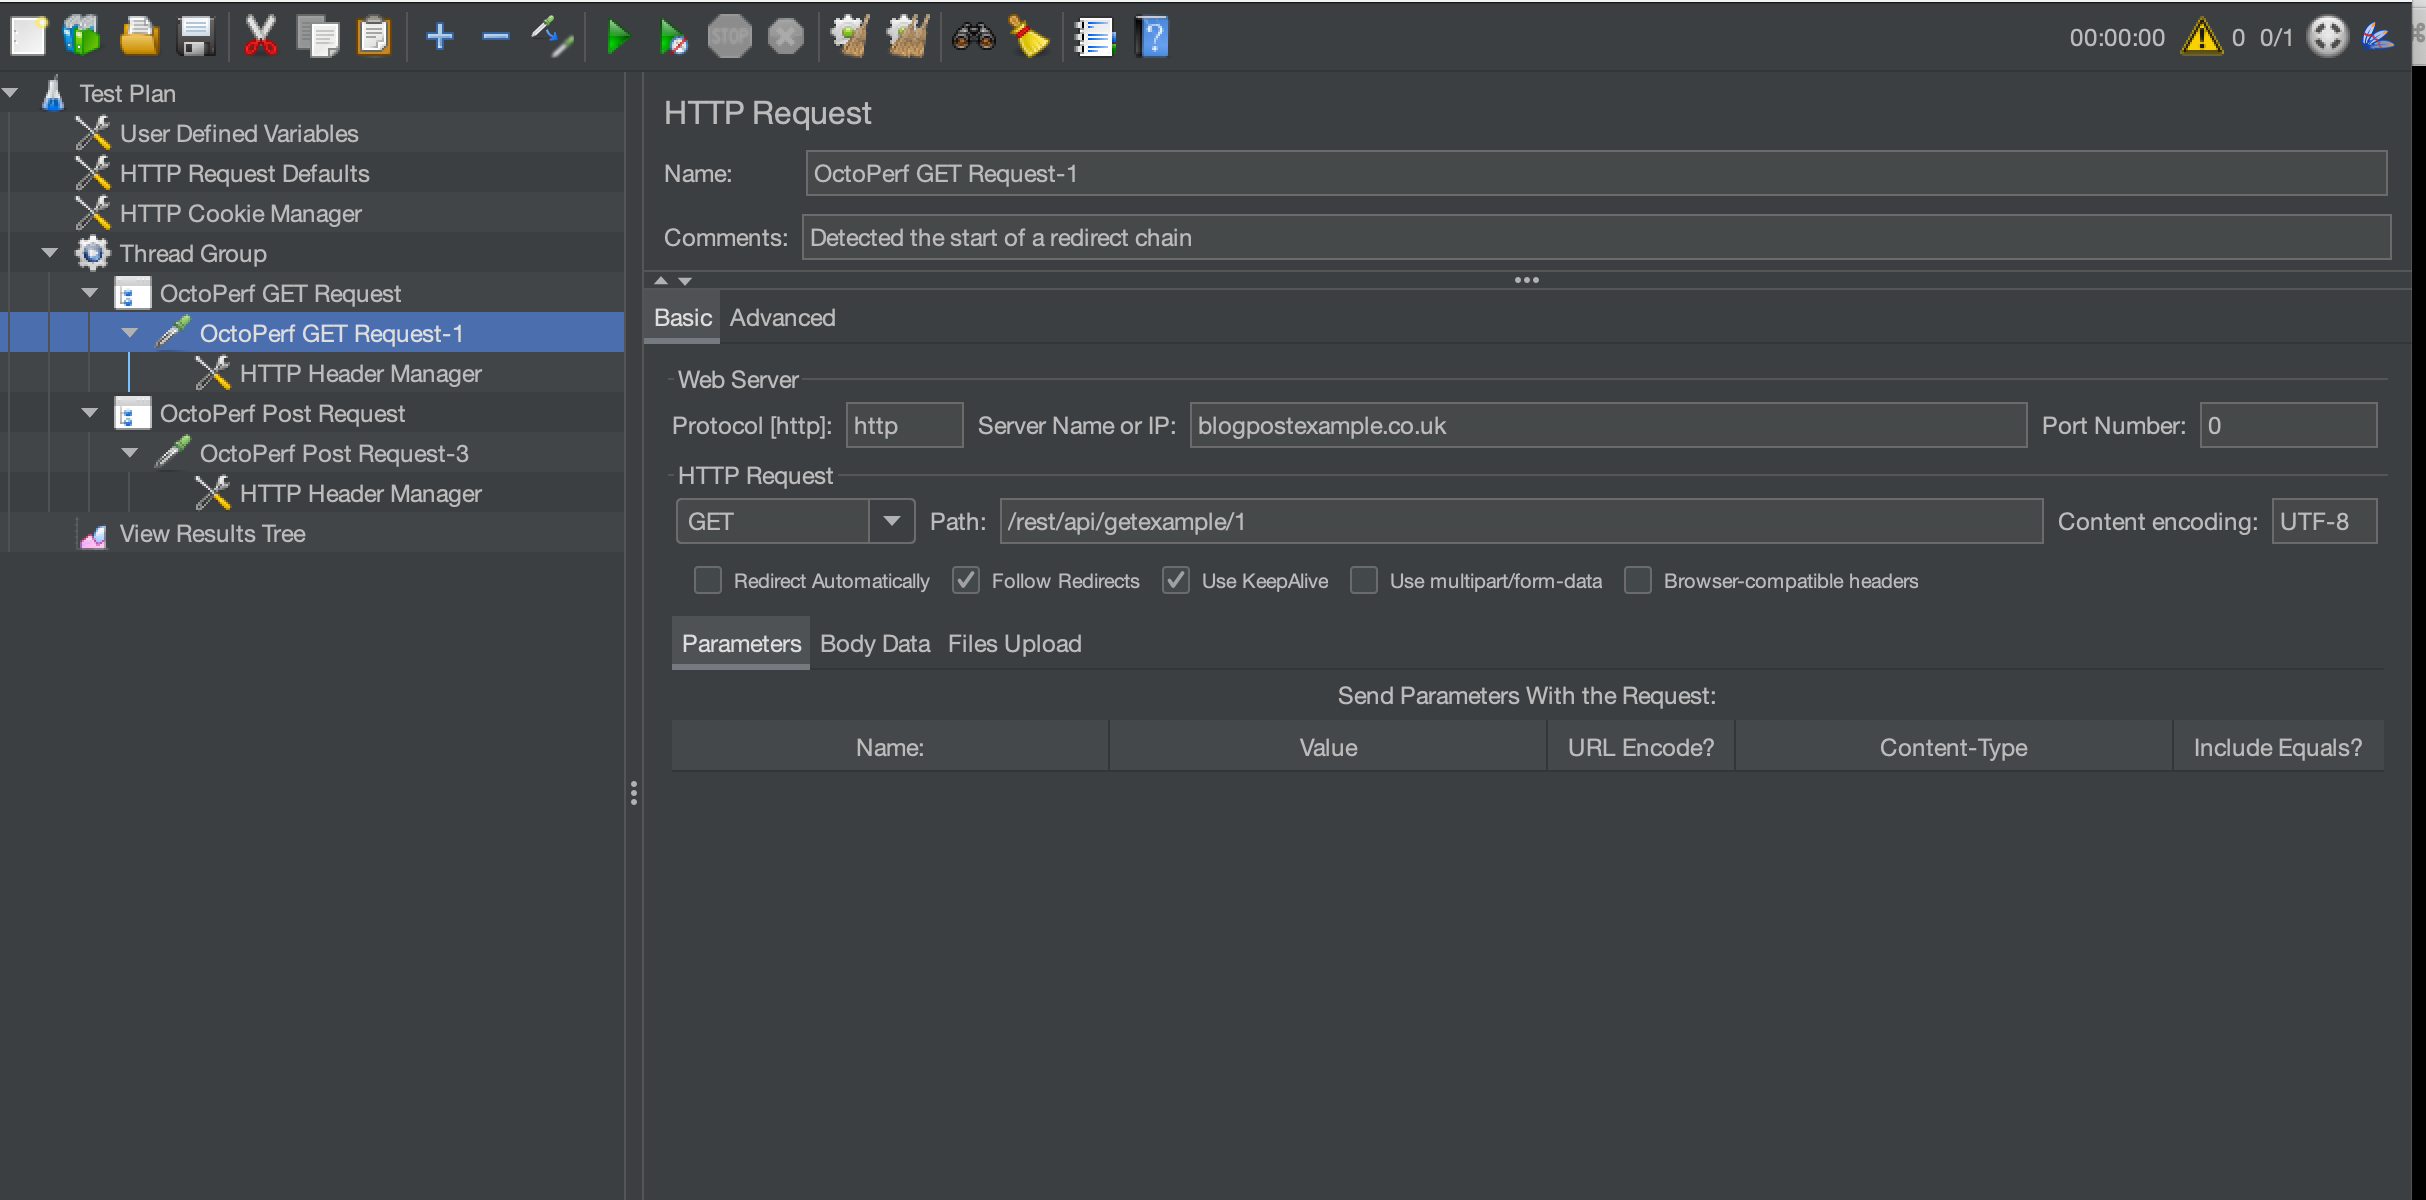
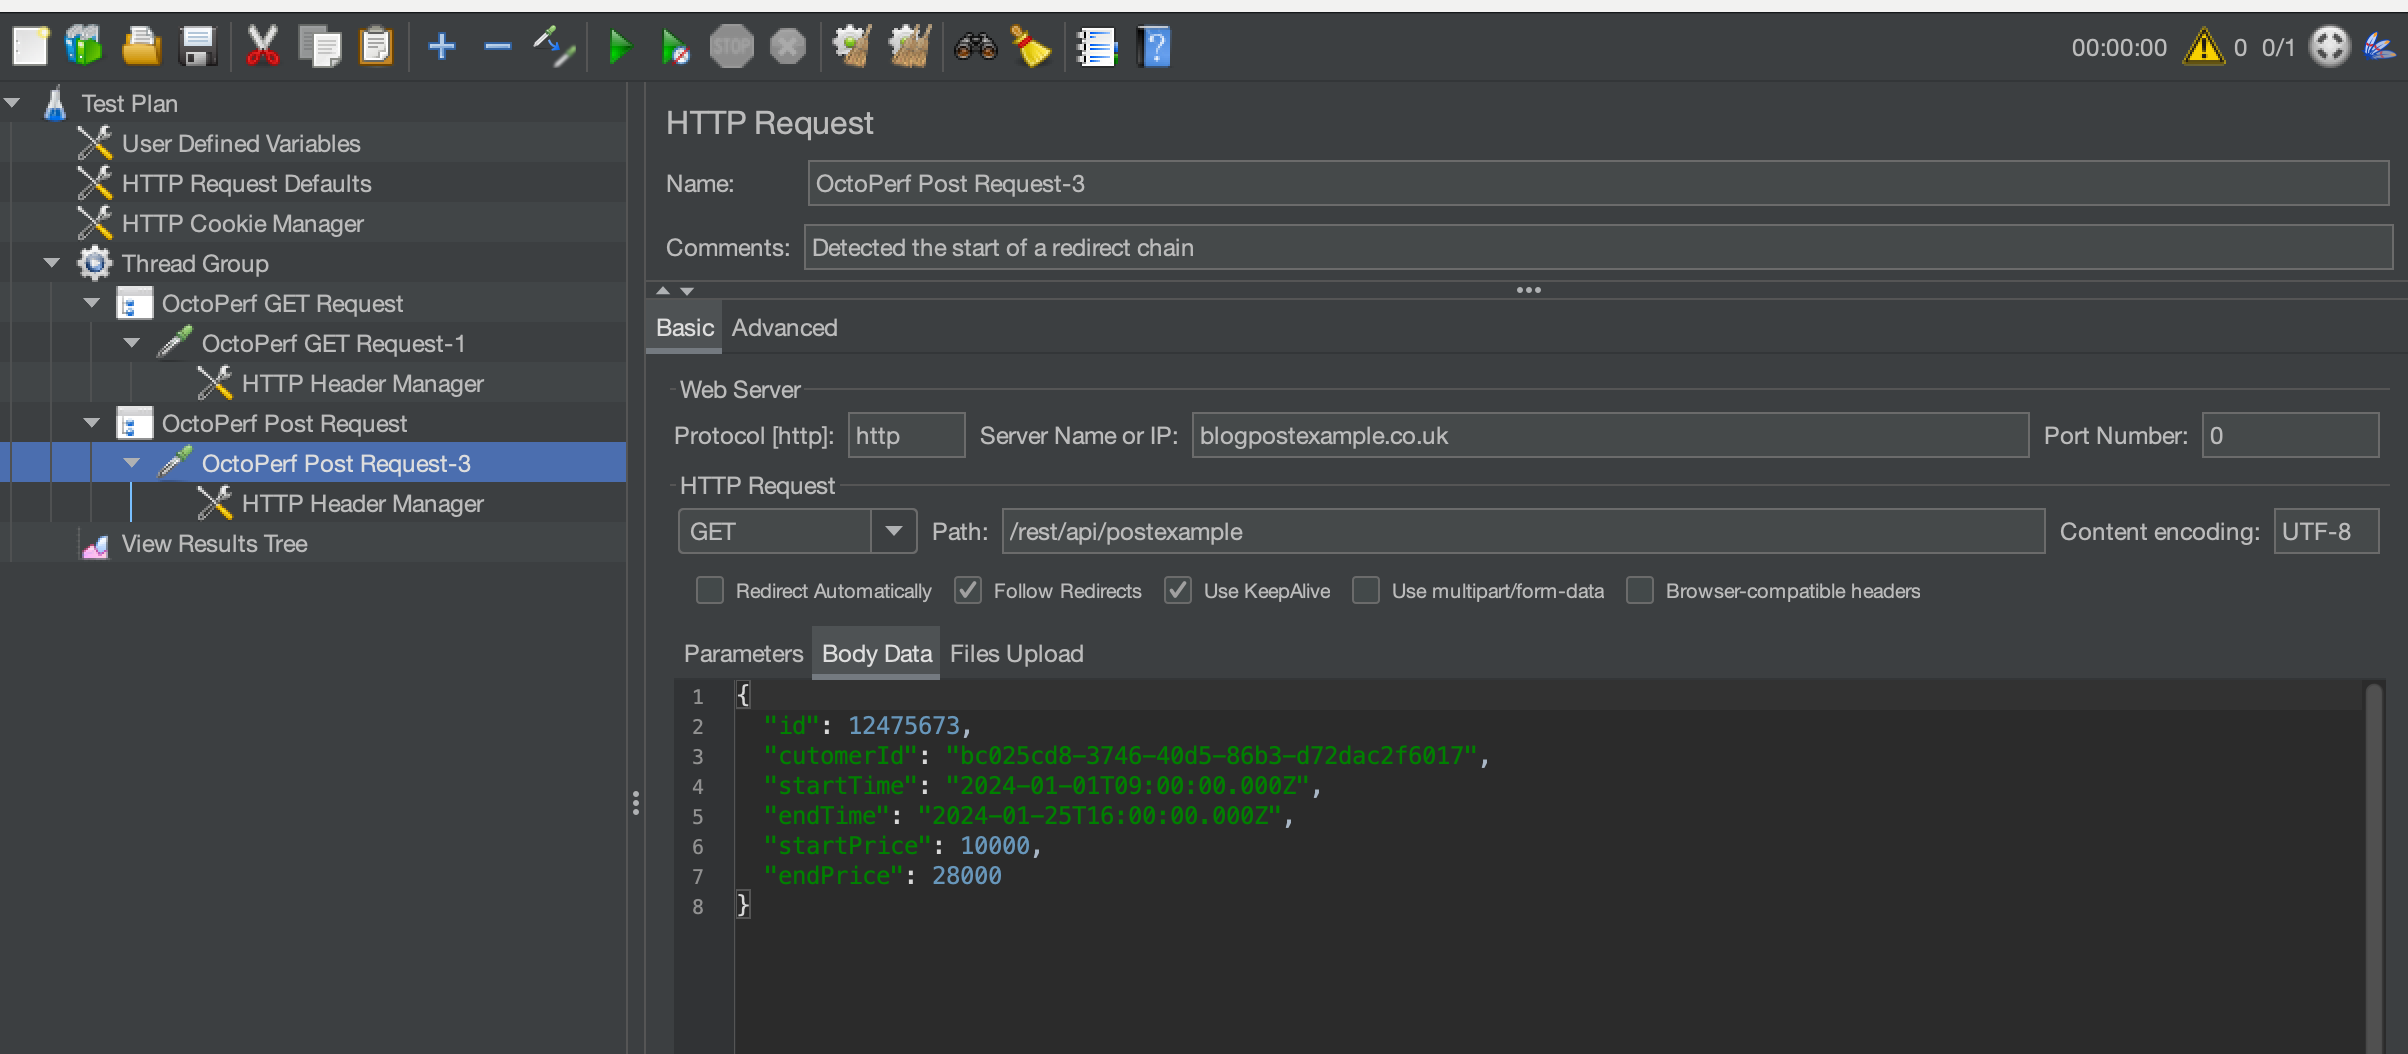
If we look at each HTTP Request Sampler in turn, we can see that the Server Name and Path is correct.
If we now execute the test we can see the results in the View Results Tree.
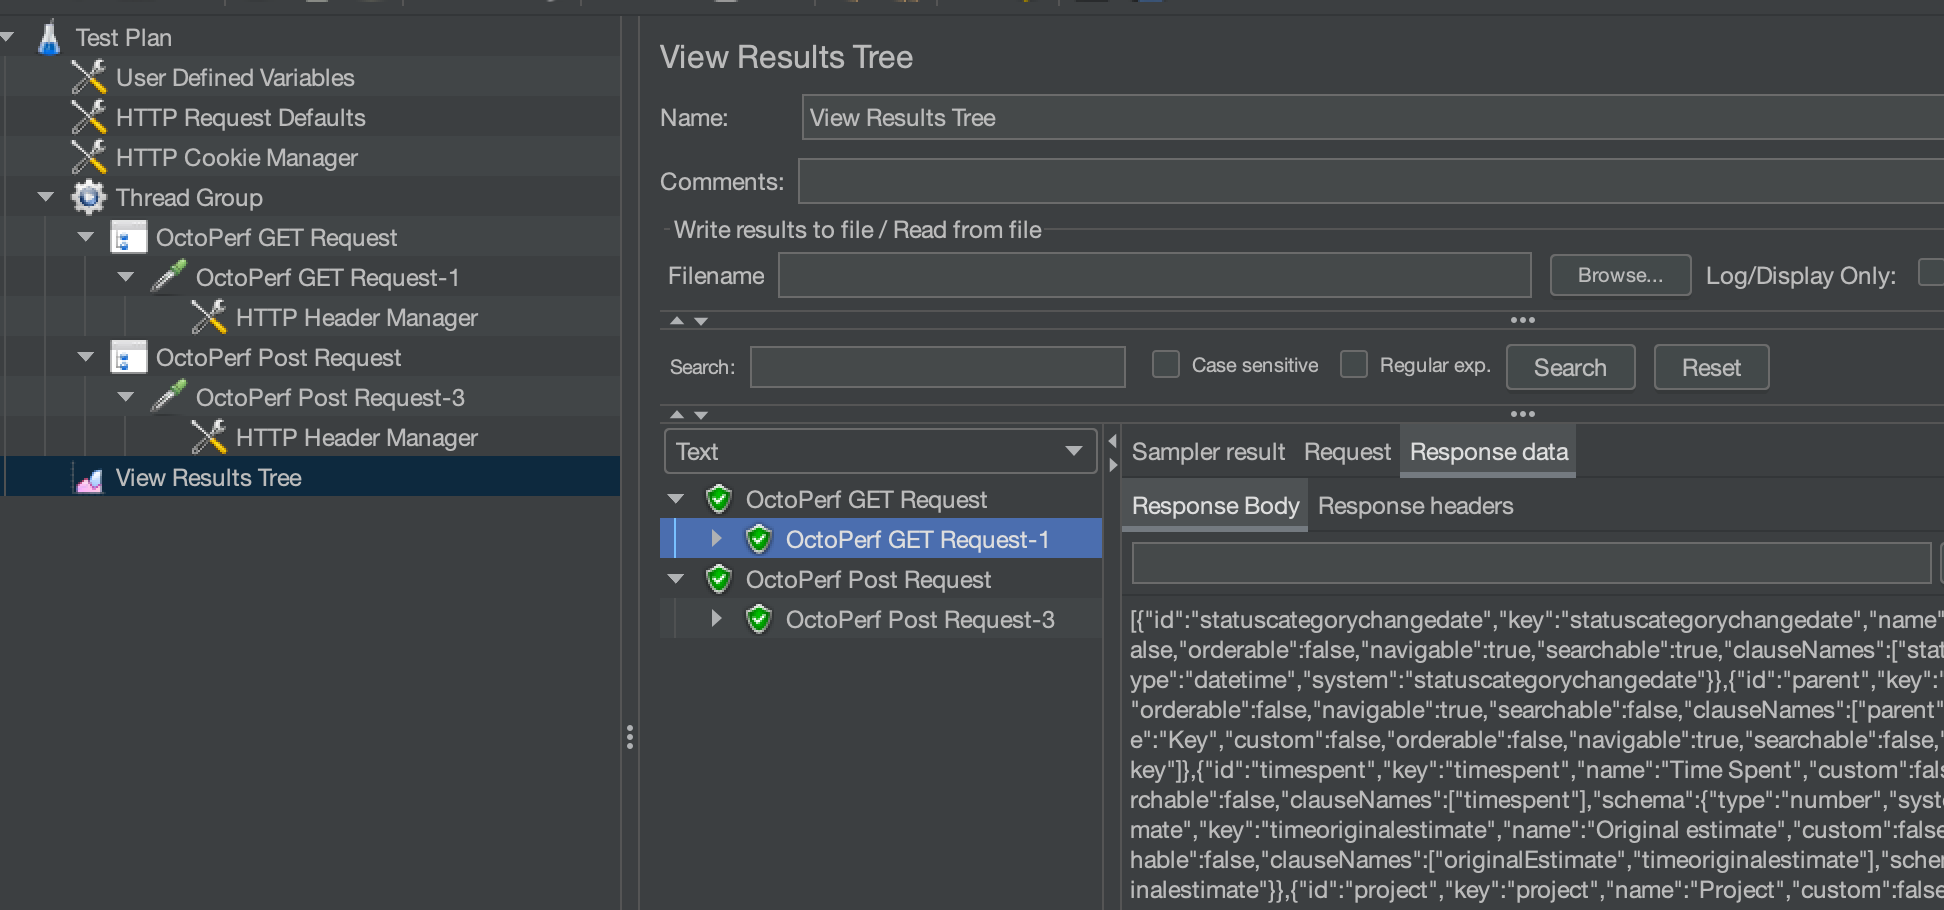
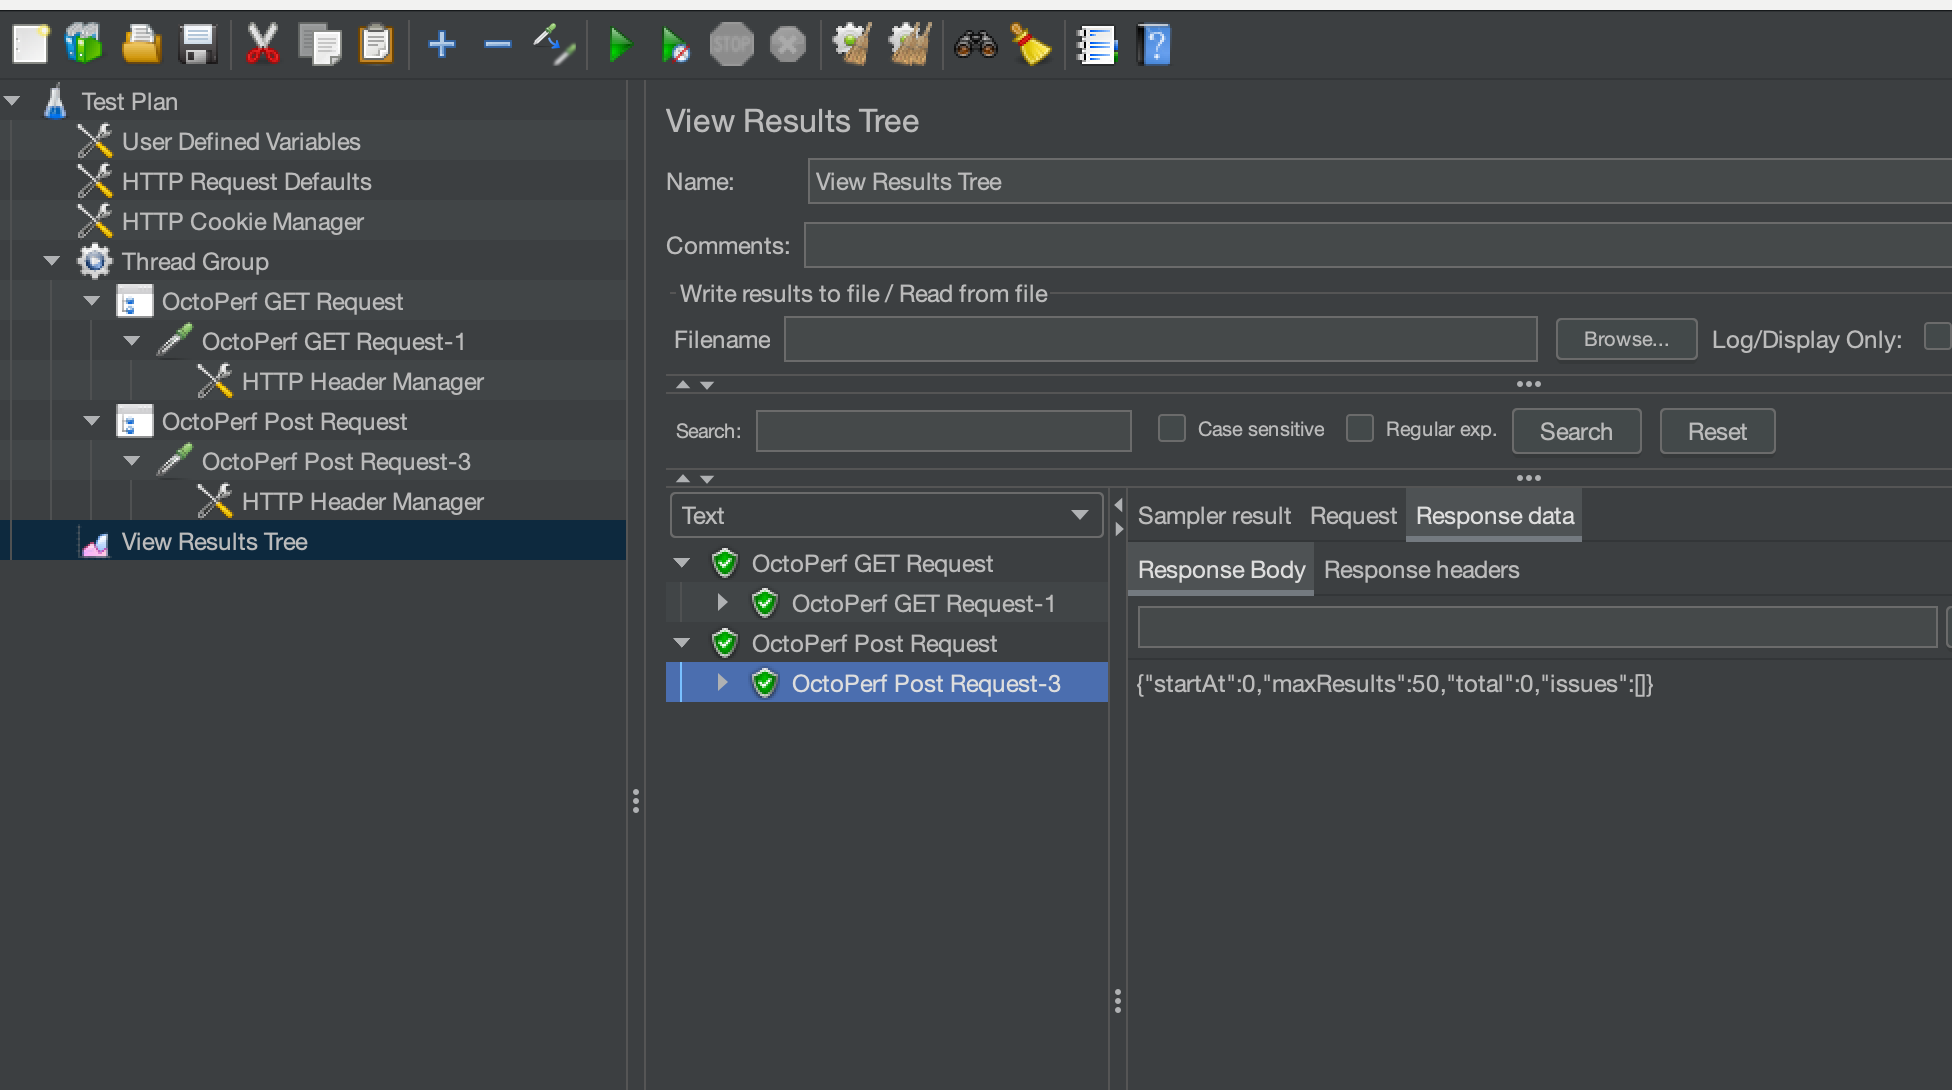
And they match exactly what we saw in Postman.
Java Approach
There is a Post on this blog on how to build JMeter tests using Java that outlines exactly how you can do this.
If you are interested in seeing how you can move your postman collections to JMeter when building tests directly in Java, you will need to read and understand this first.
We will now assume you either have read this post or you have an example of how you can build a Java based JMeter test.
If we go to this section in the Blog Post defined above.
You can see that we define the URL to send the request to here.

If we switch back to Postman and select one of our API Requests and then select the code snippet option on the right-hand sidebar.
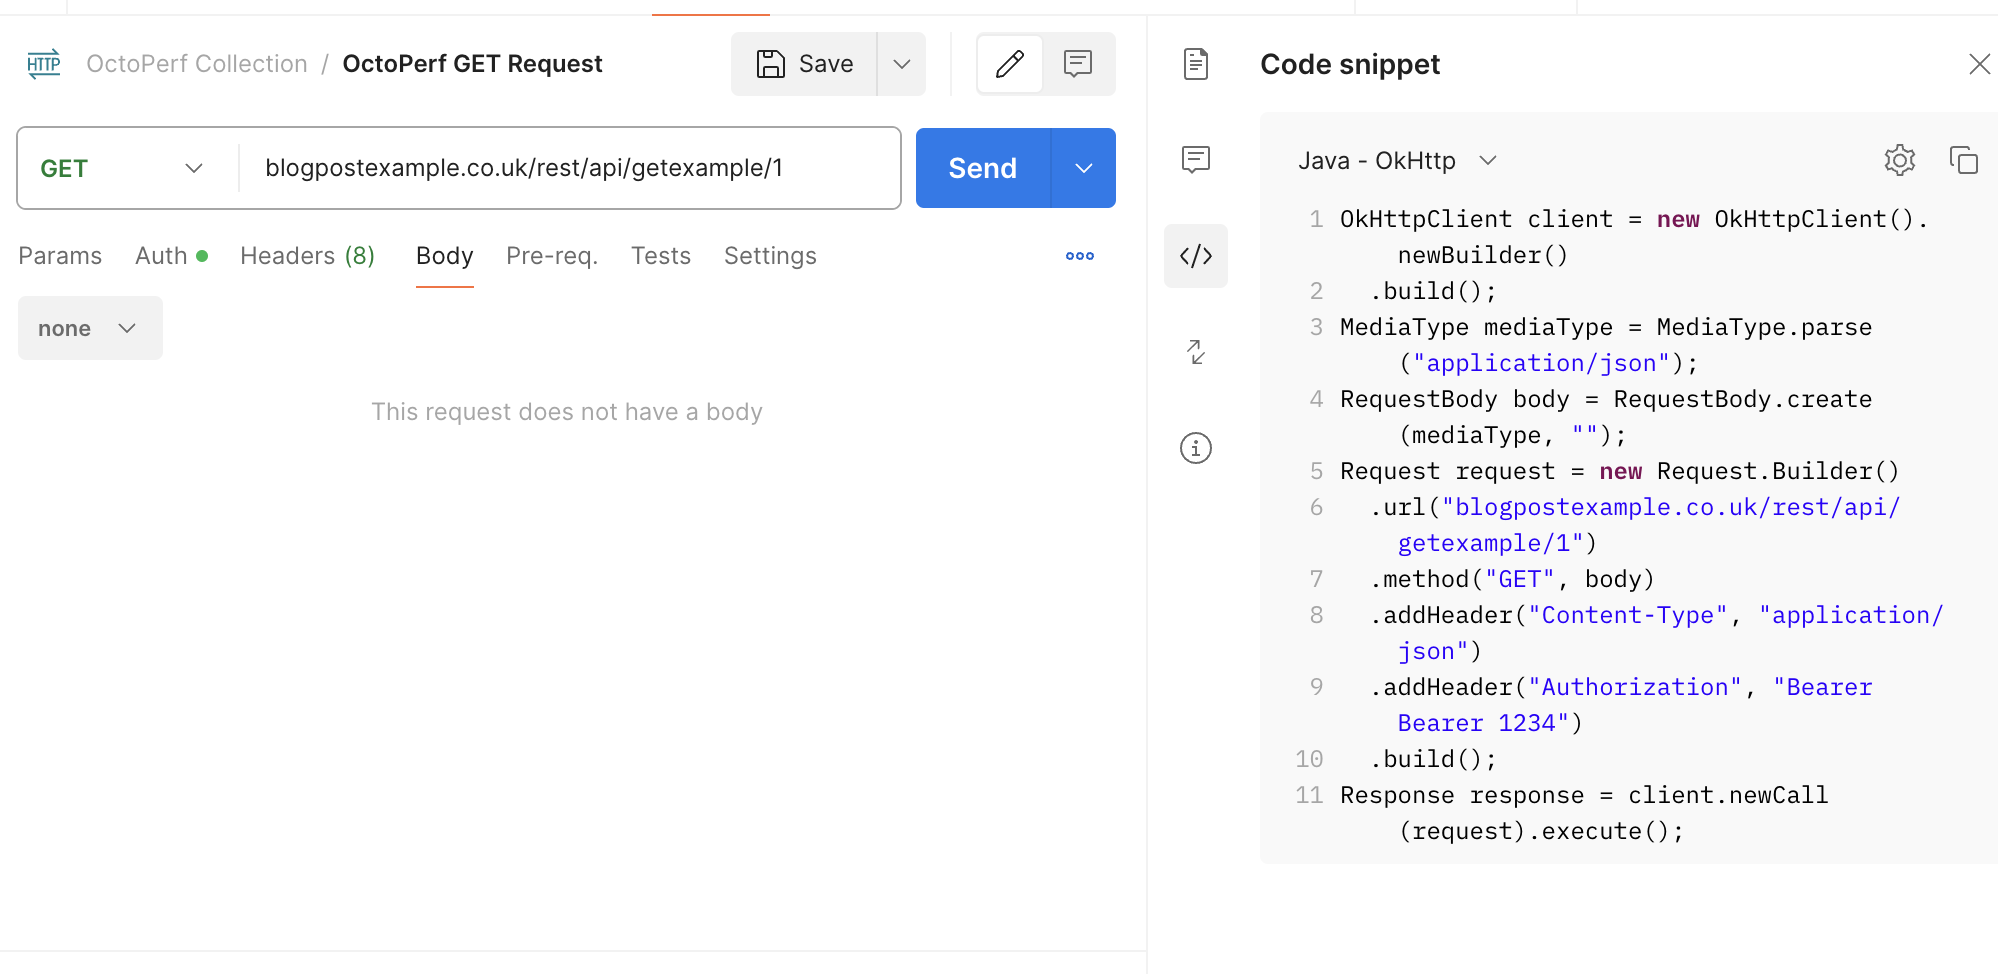
And if we select Java - OkHttp as the type from the drop-down at the top of the code snippet you will be presented with all the information you need to add to your Java example in order to simulate calls to this endpoint.
Using OctoPerf
Before we conclude this blog post it is worth noting that exporting from postman and importing into the OctoPerf platform is very easy and intuative and will automatically generate tests for you from your postman collection.
To understand how this can be done using OctoPerf you can read the Postman Collection documentation.
Conclusion
Postman collections can be extensive in many organisations and by leveraging them to help build your performance tests can save you a significant amount of time and effort.
Hopefully this blog post has given you inspiration to look into this in your organisation.
The test can be downloaded from here .
